 |
| Fabrics and threads for Dot to Dot Quilt |
As part of my quest to embrace free motion quilting, I've been working my way through several Craftsy classes by Leah Day, Frieda Anderson, Cindy Needham, Ann Peterson and Angela Walters. After watching Angela demonstrate FMQ in her Machine Quilting Negative Space and her Dot to Dot Quilting classes, I was eager to apply the techniques to my own sampler quilt. So I went to work selecting a fun palette of mostly solid fabrics to create the Dot to Dot Quilting sampler quilt class project.
 |
| Quilt top with ESS SID |
Piecing the quilt top went super fast--I think it was less than a day from start to finish. And I also went to work stitching in the ditch "every stinking seam" as recommended in Cindy Needham's Craftsy class. Again--this went rather quickly and whereas in the past I might have considered this sufficiently quilted and sending it off to a loved one. But it was time to start applying the various dot to dot and negative space quilting motifs. Angela provided 3 different designs for the quilting, but I printed out a blank template and sketched out some of my own ideas to highlight the motifs I most enjoyed.
 |
| Masking tape in lieu of marker pens |
I was so excited about my final design and eager to start FMQ. Instead of marking the fabric with various dots or lines, I opted instead to use various widths of masking tape to guide my lines of FMQing. I didn't have to worry about whether the markings would completely wash out or ironed out--and as a bonus, the tape removed any stray threads or lint off the quilt top!
While starting out on the center two yellow squares, my Bernina kept skipping stitches creating much frustration as I would have to go back to catch up those missing stitches. So it was sent off to the LQS for a week and it turned out the timing was off, which was causing all the skipped stitches. So once it was back in the studio, the remainder of FMQ was a breeze and relatively frustration-free! I would set out to do a few blocks each day before work or during my lunch lunch breaks, to set a reasonable pace. The next thing I knew, I was finishing up the border quilting and it was ready for binding!
I LOVE, LOVE, LOVE all the texture the FMQ created. After I finished each block, I would simply caress my hand over the newly formed stitches!
 |
| One quadrant worth of quilting highlighting the various techniques/motifs used |
 |
| The center quilted |
 |
| Fun backing-surprisingly it is from Joann's and I love the print and quality! |
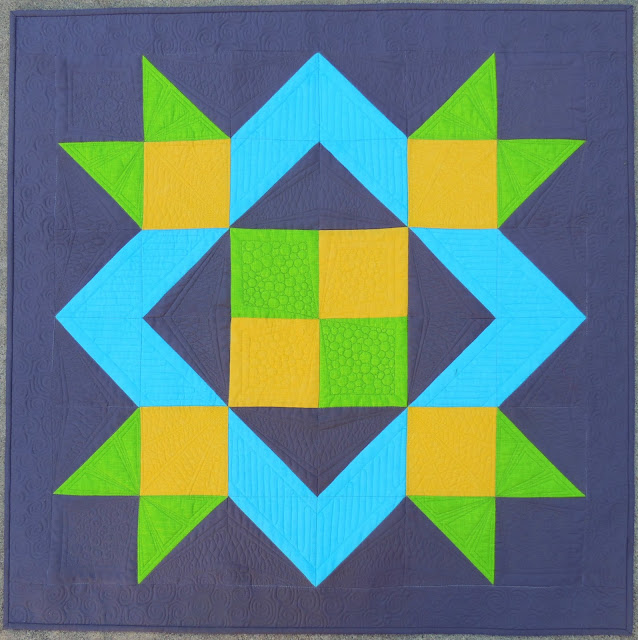 |
| The complete top quilted |
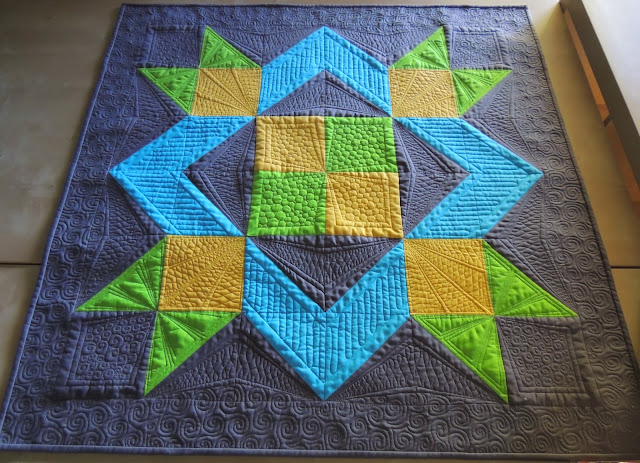 |
| Back in the studio where you can really see all the texture created from the FMQ--Love it! |
I have a few more class sample projects ready for more FMQ practice...can't wait!


Comments
Post a Comment
I am delighted you took the time and thought to leave me a comment. It may take a day or two for your comment to appear as I moderate them prior to posting to filter out spam and inappropriate content. Cheers!