
Read on for our process for creating this supersized ironing board...
Material needs:
- iron board frame
- 2'x4' sheet of 1/2" thick plywood
- 4 pieces of cotton batting that are 6" longer/wider than your plywood board
- 1 piece of canvas fabric 6" longer/wider than plywood board
- smaller piece of wood to build iron shelf
- electric drill with 1/2" bit for water bottle holes, bit a bit wider than your bolts and countersink bit.
- staple gun with 1/2" staples
- 8-10 bolts 1.5" long
- 8-10 washers
- 8-10 nuts
- nut driver or wrench to tighten nuts
- Scotchgard fabric protectant spray
 Step 1: We removed all the padding, leaving only the metal frame. We used a 2'x4' sheet of 1/2" thick plywood, which was a few inches short of my original ironing board's length. But this was easily resolved by attaching a small shelf at the narrow end of the original board, that could be used to hang starch, water and to rest my iron.
 |
| Shelf for Iron and Supplies |
Step 2: Place plywood on floor and rest iron board on top to determine bolt placement to align with metal lattice work where bolts can be fit. Holes were then drilled and the top surface was countersunk so the bolts would lay flush.
 |
| Countersinking holes so bolts lay flush with board surface |
 |
| Upholstering 4 layers of cotton batting and canvas fabric |
Step 4: Keeping the unit on the floor, fabric side down, the original iron board frame was set back onto the board for reattachment. This was a bit tricky as some of the bolts had shifted slightly making for a snug fit. Take special care not to accidentally push the bolts out of their holes or else you might have to remove staples, fabric and batting to access dislodged bolts. Place washers onto each bolt and then the nuts, and use wrench or nut driver to tighten for a secure fit.
 |
| Reattaching and securing iron board frame |
Protecting the surface fabric: I sprayed the canvas fabric with Scotchgard fabric protectant, but be sure to read the safety warning label carefully to allow ample drying time before exposing to any heat sources...ie. a HOT IRON!
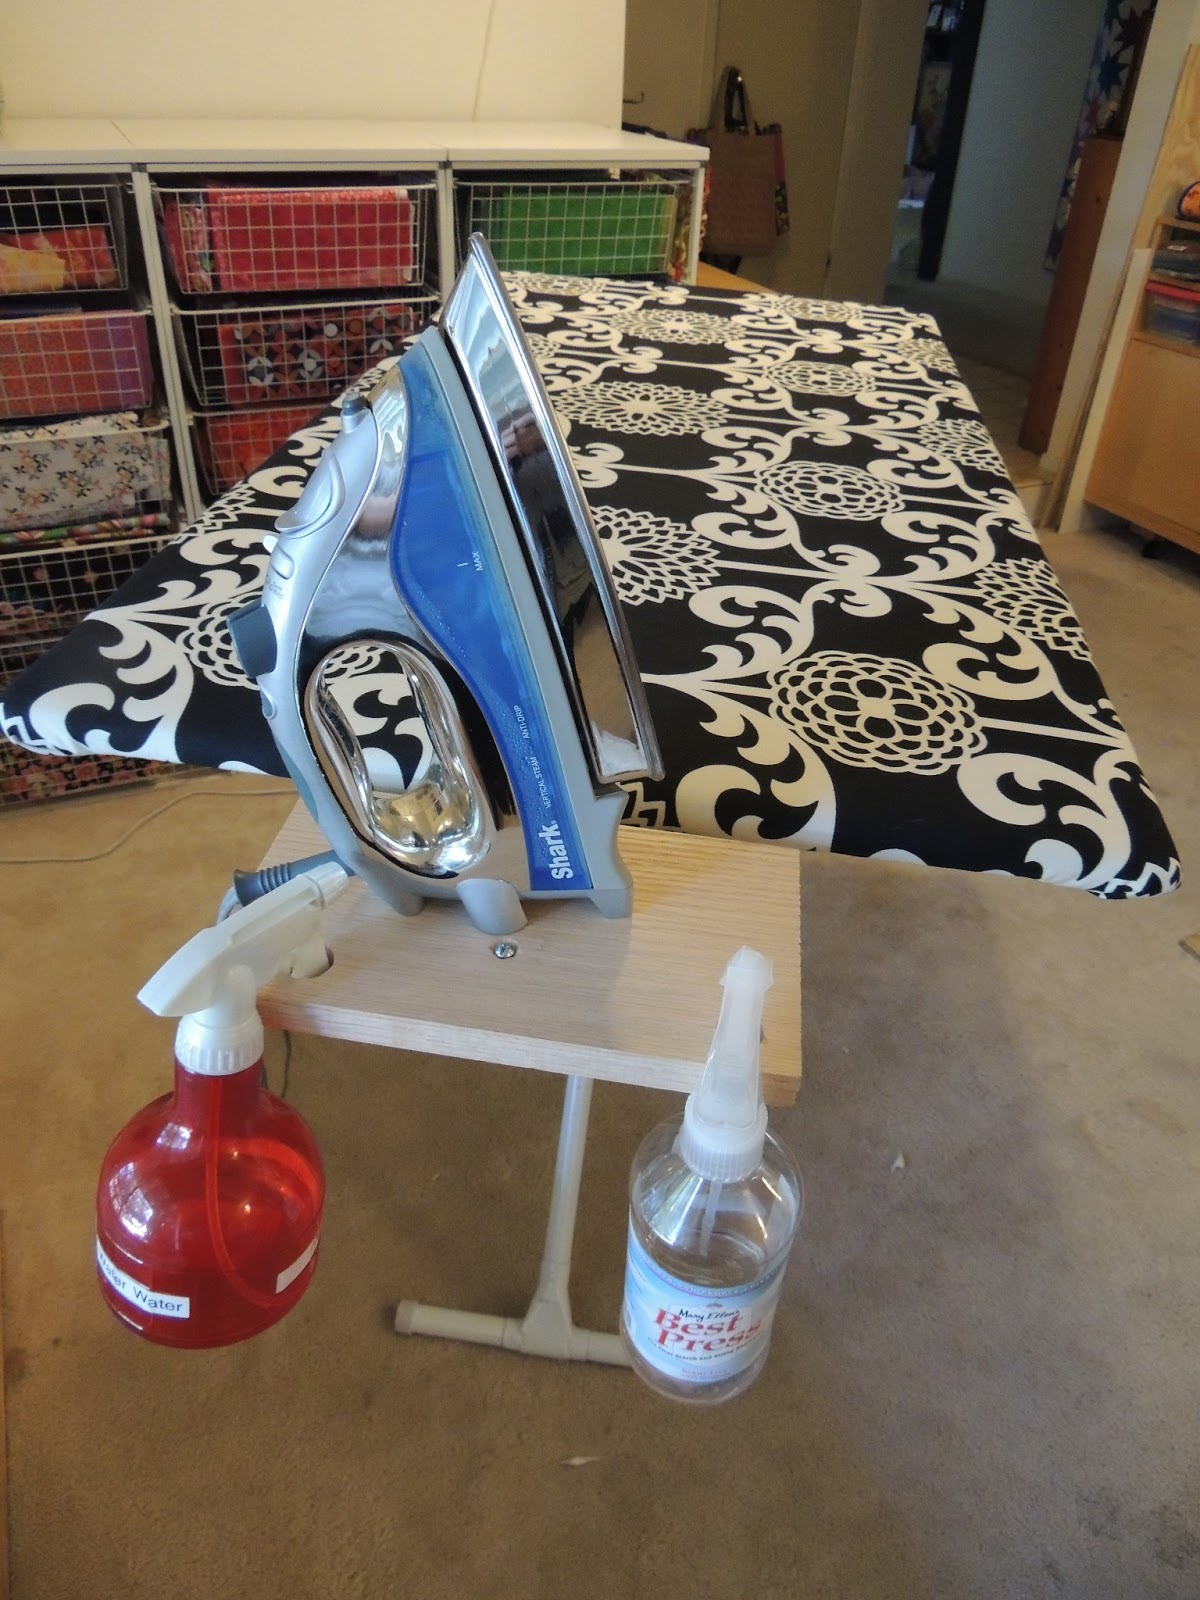 |
| Happy Ironing! |
Comments
Post a Comment
I am delighted you took the time and thought to leave me a comment. It may take a day or two for your comment to appear as I moderate them prior to posting to filter out spam and inappropriate content. Cheers!