While visiting other websites or blogs, I admired the photographs quilters captured of their projects or progress, and I'll admit I was envious. So I set out to enhance my own photography skills in effort to better document my adventures. Moreover, as Historian for my quilt guild, it became essential to capture the beauty and detail of the quilts displayed by both fellow members and visiting artists during our monthly meetings, workshops and other association events.
 Task number one was to better understand my camera, so I set out to read the manual and play with the various features/modes. And while I did not get through the entire manual, I did unlock a few fun features to help me maximize its technology. I also purchased a Digital Photography book which I worked partially through to better understand the theory behind stunning digital photograph. And then I completed Caro Sheridan's online Craftsy class: Shoot It! A Product Photography Primer to learn more about how she stages various projects to promote the artists talents.
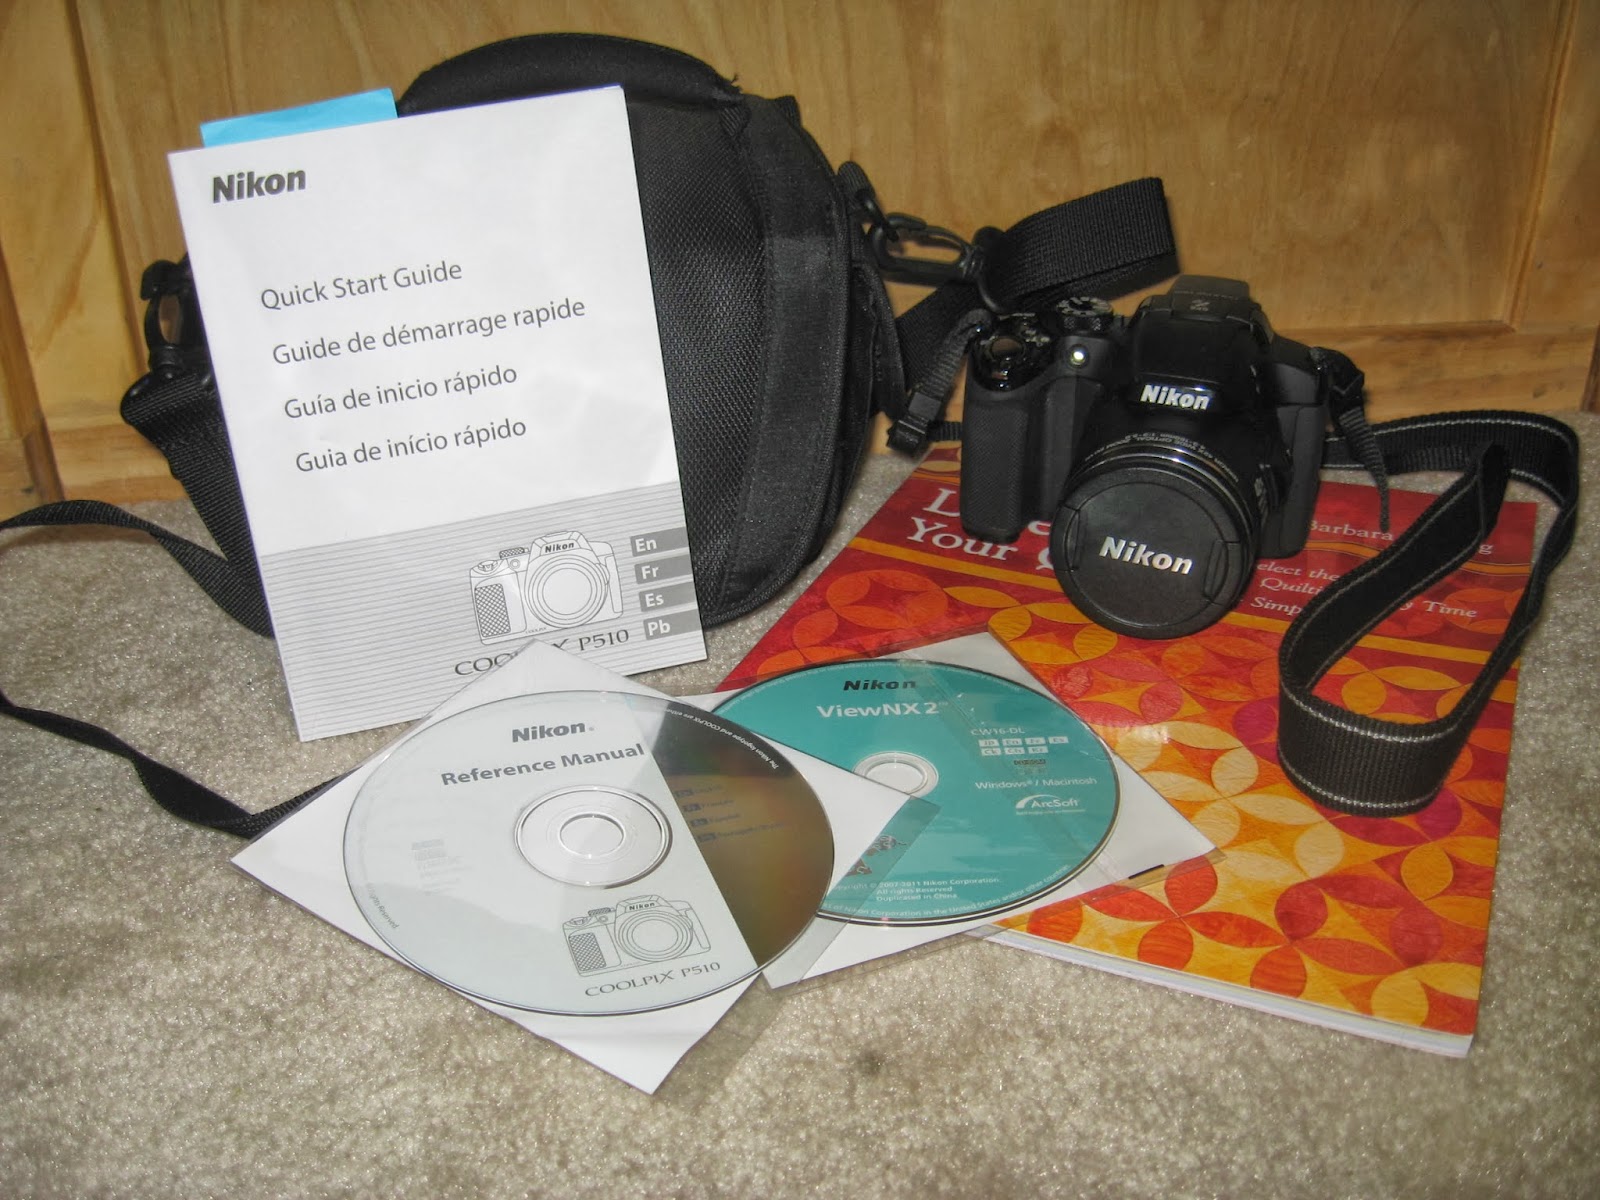


 Task number one was to better understand my camera, so I set out to read the manual and play with the various features/modes. And while I did not get through the entire manual, I did unlock a few fun features to help me maximize its technology. I also purchased a Digital Photography book which I worked partially through to better understand the theory behind stunning digital photograph. And then I completed Caro Sheridan's online Craftsy class: Shoot It! A Product Photography Primer to learn more about how she stages various projects to promote the artists talents.
All three sources provided great tips and inspiration, but ultimately I needed to get out there to practice and experiment. And experiment I did by taking over 4600 photos in 2013!! (I was totally surprised by that tally, not that all 4600 pics are post-worthy mind you!!)
One aspect of photography that I experimented with was backdrops for my finished quilts. Sometimes to Doug's great frustration, I sought out new photo shoot locations to display my artwork and bring some extra visual interest to my quilt photos. I now have my own set of clamps, hangers, dowels, pvc so I can independently hang and photograph my own quilts at new locations without the need for a certain individual who has formally submitted his resignation from his photo shoot assistant posting.
I had fun seeking out novel locations and props to add some extra ambiance to my finished project photo shoots. While some photographs were still taken indoors, I sought to incorporate new props such as legos. Or if I didn't feel like venturing beyond the backyard, I enjoyed incorporating various plant life to serve as a back drop. But the most fun settings proved to be hanging quilts at the local park across pathway bridges or better yet, on the jungle gym equipment! I am sure a number of people turned their heads to see what the heck I was doing out there with quilts draped across the monkey bars! Here are some of my favorite photo shoot locations and backdrops for finished projects in 2013:

And what photo shoot isn't complete without some models to show off these beautiful quilts. Skippy & Panda to the rescue--and luckily they are fairly well trained to pose and actually look at the camera (although there is usually a higher rate of outtakes involved during their photo shoot session because one dog is looking away, sticking out his/her tongue or some other unsightly behavior! But here are some of my favorite pics featuring my muttly muses:

Besides having some fun quilt pics to document and celebrate my quilt finishes, here are some additional benefits to enhancing my photography skills:
- Photographs to share with others. I enjoy having fun pics to post on my blog, Pinterest page and even send to instructors as a thank you for their guidance, instruction and support in that particular project. Doug keeps telling me "more pics, less words!!," so I aim to please.
- Far less stress at guild meetings during the fast-paced Show and Tell. I am able to maneuver my camera to keep up with the fast pace of monthly meeting Show and Tell and capture fairly straight pictures of the quilts being shown on stage as well as capture some close up details during the half-time break.
- Positive feedback from fellow guild members about pictures that were posted on our website gallery, used in our monthly newsletter and/or on our facebook page.
- Far less outtakes to sort through and/or edit for use, which saves both time and storage space and greatly expedites the process of uploading, editing and posting.
- And best of all: Photos of in-progress projects can be used to crop and/or edit in MS Publisher or Powerpoint to work out quilt design decisions such as block layout, border designs, quilting motifs and more without the need for a seam ripper! Without having to fear about ripping out poor design decisions, I was free to explore new ideas that yielded far more exciting and intriguing quilts.
Here's to another year of beautiful quilts to photograph!!
Comments
Post a Comment
I am delighted you took the time and thought to leave me a comment. It may take a day or two for your comment to appear as I moderate them prior to posting to filter out spam and inappropriate content. Cheers!