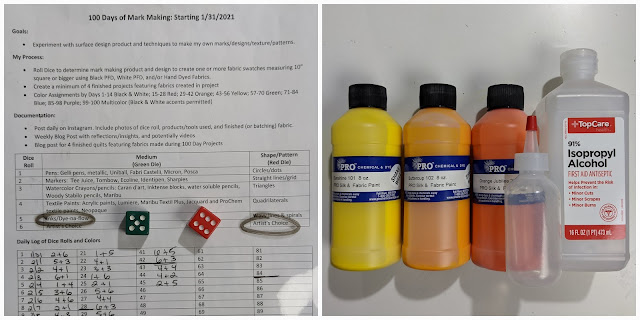
Week 7 introduced the color Yellow and yielded nearly 2 yards of mark making magic!
43/100:
Stamped with ProChemical and Dye's ProFab Transparent Paint. The first is a stamp I made several years ago in a workshop with Sue Bleiweiss. We learned to cut shapes from craft foam backed with adhesive. The second is some clear packaging that I saved from the recycling bin. A foam brush was used to brush the paint onto both stamps.
As a transparent paint, it looks very different applied onto white and black backgrounds.
44/100:
Wood you look at today's mark-making magic using wooden chopsticks, tongue depressors, popsicle sticks, and acrylic paints!?! The edges were dipped into the paint and then stamped onto the fabric to create grids and all over patterns.
It was only a matter of time before I broke away from a grid and started to incorporate white paint. I especially liked having the sticks dipped into sections of white and yellow to create some sparkle in the designs!
I really enjoyed using these wooden shapes to create straight line designs. Perhaps you'll say they're Ahhhh-mazing!?!
45/100:
46/100:
Proof that alcohol is magic!!
It was so much fun watching drops of ProChem Pro Silk & Fabric paint disperse and blend after applying rubbing alcohol.
47/100:
48/100:
Trying to blend in with a few experiments on a rectangle gridwork marked with Marabu Art Crayons. Sharing each experiment followed by the fun resulting fabrics!
1. Fabric misted with water, grid marked, and misted again with more water causing the rectangles to bleed.
2. Dry fabric, marked grid, aloe gel brushed on to blend color into each rectangle creating crisp rectangles with lighter centers.
3. Dry fabric, mark grid, brush dipped into water and brushed along perimeter of each rectangle.
49/100:
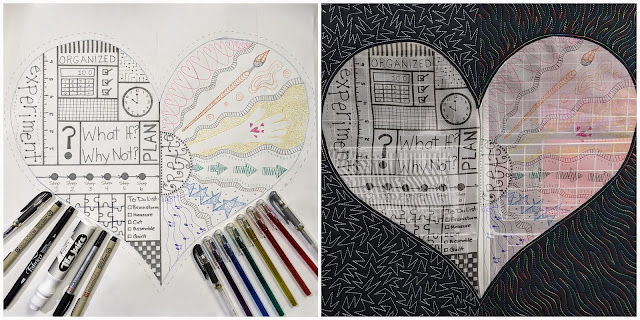
Today's project coincided with Project Quilting's Ab Intra challenge theme. I used a variety of markers and pens to make marks on sheer silk Organza. The first images are my sample piece where I experimented with many different markers and pens. This proved to be a very helpful resource and I plan on recreating using the two different Pimatex PFD Cottons I am using for most of my mark-making days.
Here you can see the markers and pens that I opted to use to mark out a large heart representing how quilt challenges utilize both sides of my brain:
- Black Marking tools used on left side: Uniball Signo pen, Micron archival pens, Fabrico dual marker, Tee Juice marker, and a Sakura IDenti-pen.
- Marking pens for the right side included Uniball Signo in black and silver, in addition to these amazing Pentel Hybrid Dual Metallic pens.
And that concludes Week 7 of my 100 Days of Mark Making on Fabric project. So far I've produced 17+ yards of fabric in this project...can't wait to see what the next few weeks will inspire me to mark!


I don’t think my marks would look nearly as good as yours. The last time I tried something like this it was a bunch of blobs. But you are always inspiring.
ReplyDeleteI am certainly learning a lot from this creative journey. Some mark-making designs are more exciting than others and some just need a bit more to get there. But I try to keep in mind that I will be cutting these up so I can crop to the good sections!
Delete