It's Project Quilting Season 14!! This will be my 8th year of participating in these fun quilting challenges where participants have 1 week to start and finish a quilt in response to the challenge theme. I always love these challenges as they are a safe space to try something new and different inspired by the weekly prompt. Not only have I made 42 entries for Project Quilting, but many of these finishes have led to the development of new workshops and my Challenge Yourself! Lecture/Trunk Show where I promote the benefits of participating in quilt challenges.
This week's challenge, set by PQ Challenge Mistress, Trish Franklin is The First One inviting participants to start and finish a quilted entry that uses the theme of "one."
Prior to the theme announcement, Trish posed a question on the Challenge Quilts Facebook Group asking for input on whether participants were considering setting a specific intention for creating a series and/or theme for this season. In past seasons I've added my own challenges including using unconventional materials in Season 9, stitching wholecloth quilts for Season 11, and most recently incorporating mark making on fabric during Season 12 and 13. For this year, I'm considering channeling Gollum from Lord of the Rings by picking out groups of "My Precious" fabrics/bundles that I've been saving for years and to actually use a different set to make my challenge entries.
With that consideration, allow me to introduce you to My Precious fabric bundle #1: Indigo Dyed Fabrics from my first and only time Indigo Dyeing back in 2017. While I very much enjoyed the process, it required extensive leaning over a vat of indigo dye to slowly introduce the fabrics for repeat soaks without introducing too much oxygen that would compromise the dye power. These beautiful and precious fabrics have been safely tucked away in my studio until this week...

I immediately knew I wanted to add some bright warm fabrics, but otherwise didn't have any design plans for this palette...until 4:45 AM Saturday morning!
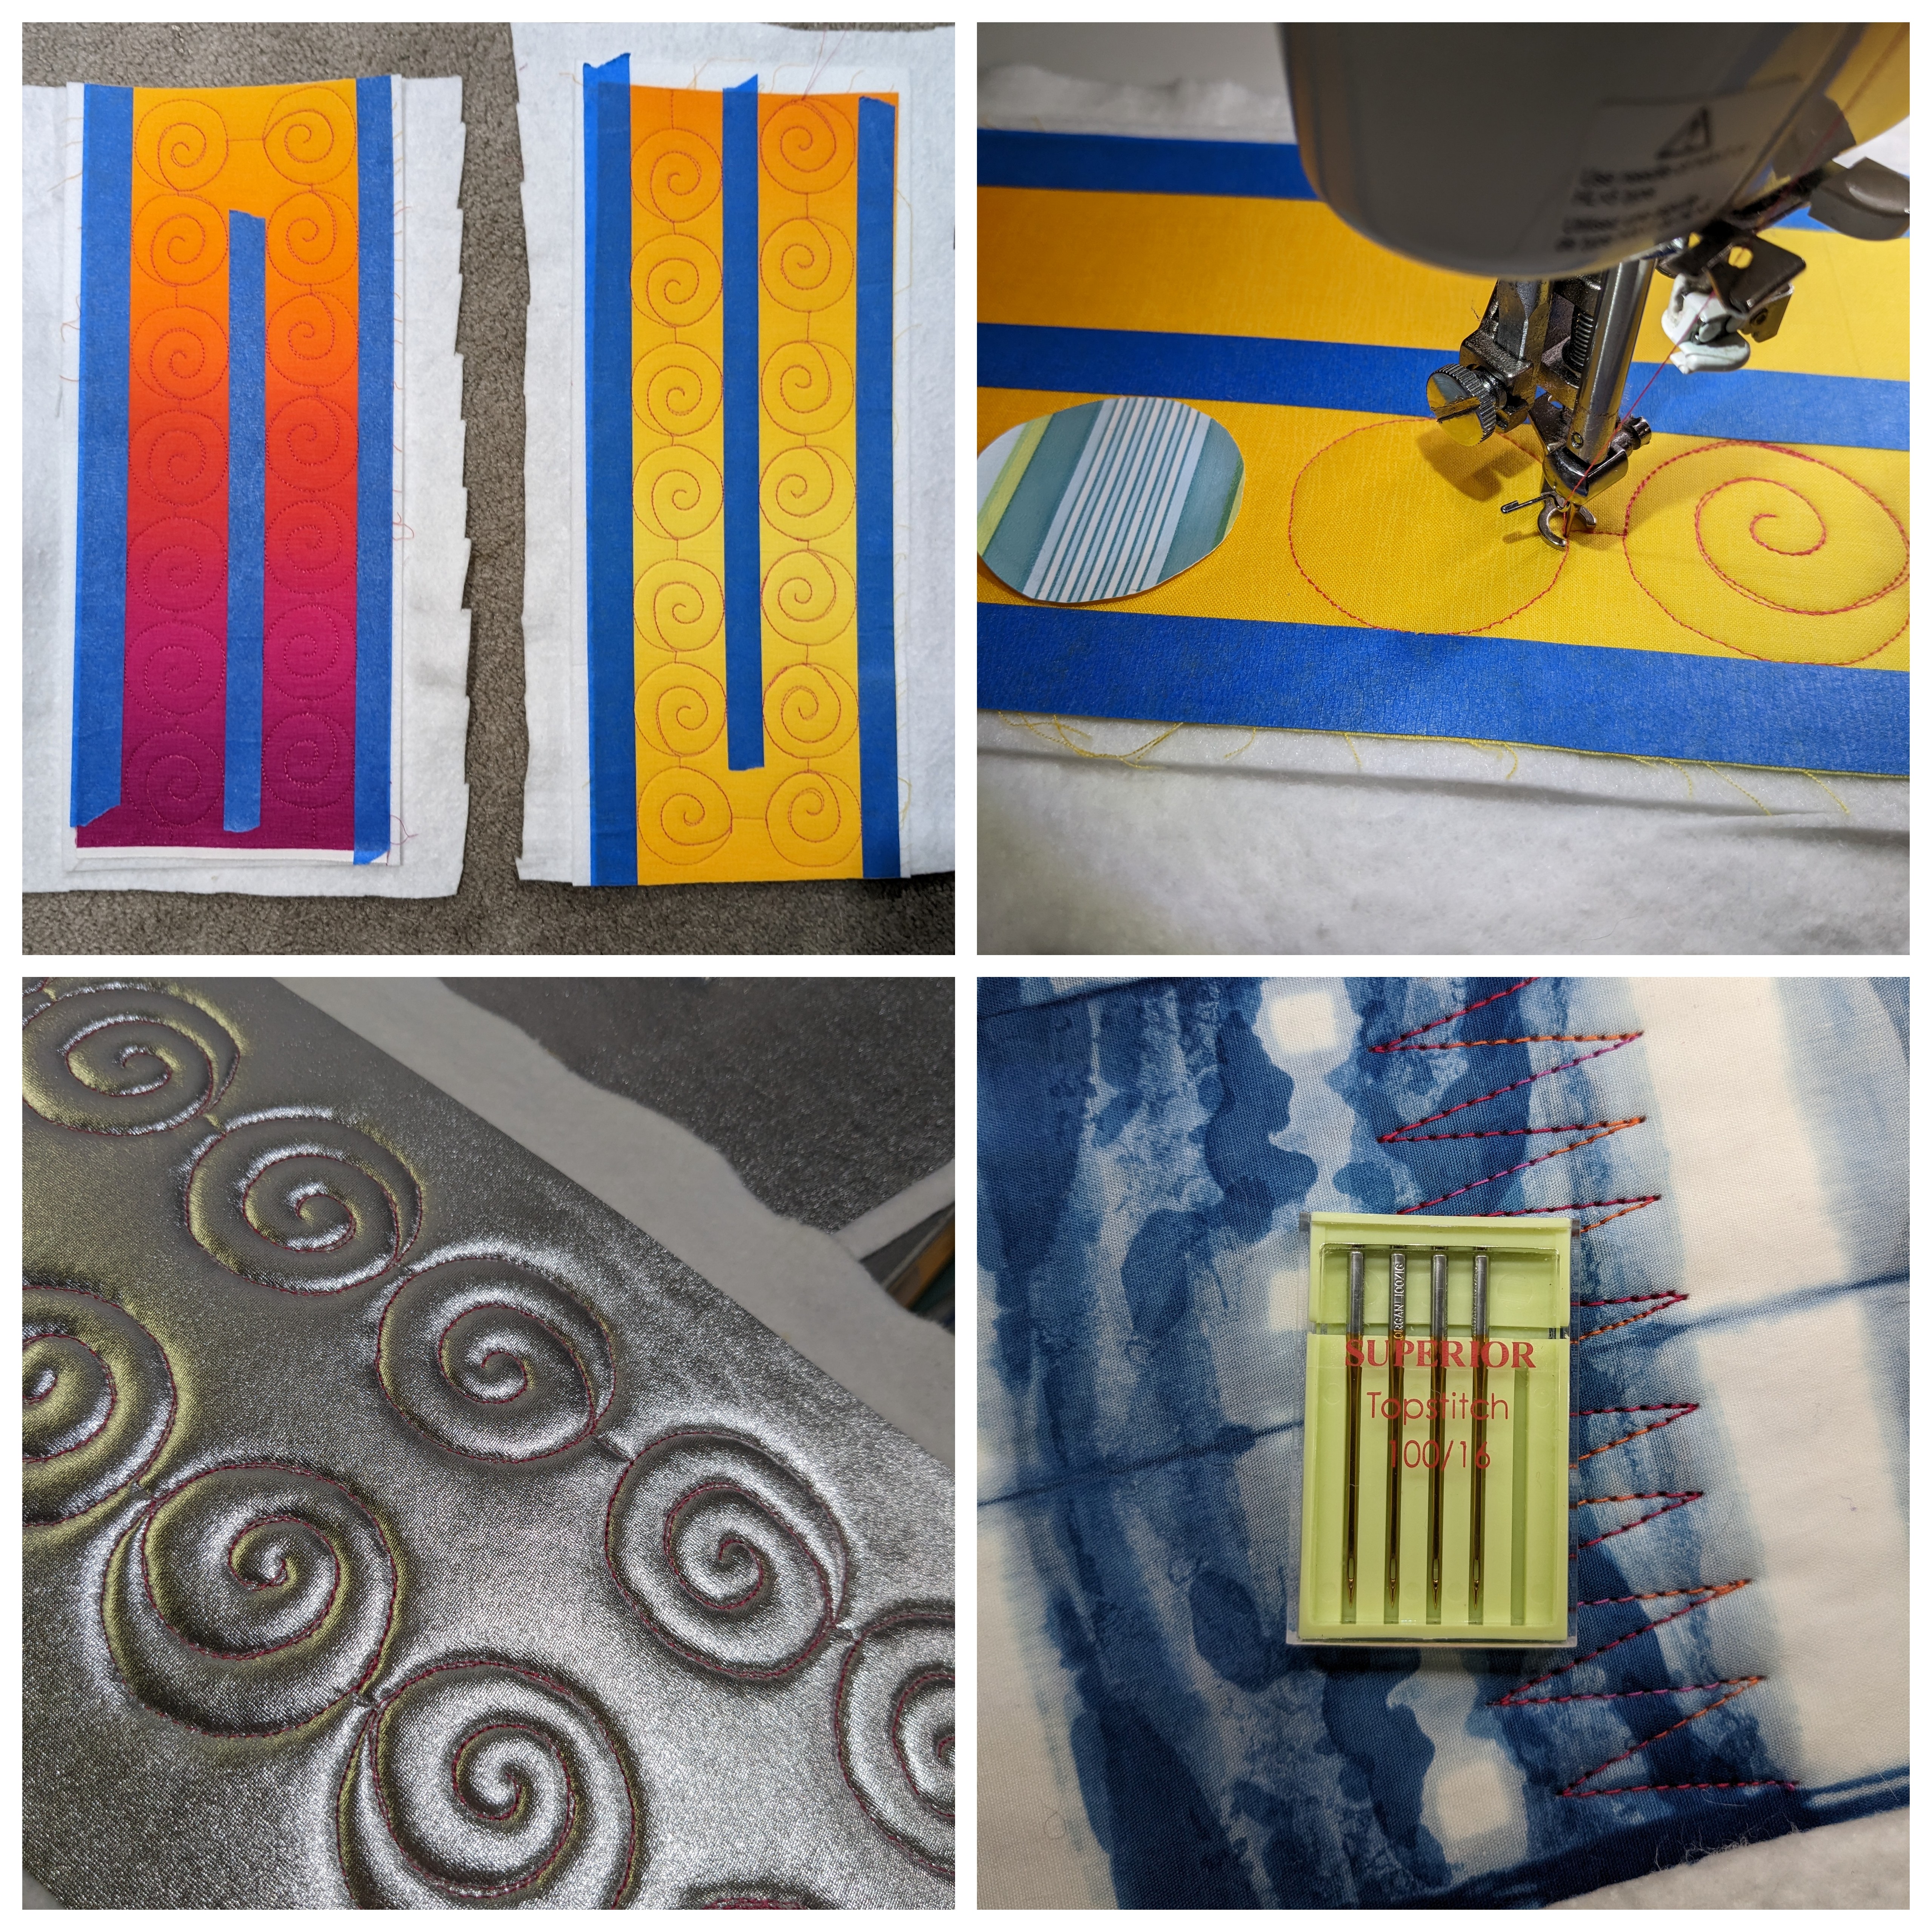
I woke up early with the idea to create my first 3-D fiber art piece in the form of a wind chime. Adding dimension to my art quilting has intrigued me for a few years now and was one of my personal goals for last year. Despite gathering supplies and making notes, I kept chickening out on making any 3-D art in 2022. This week's challenge presented the perfect opportunity to create my my first 3-D art quilt. I was giddy with excitement over the possibilities and raced into the studio at 5 AM to do a quick sketch before gathering supplies.


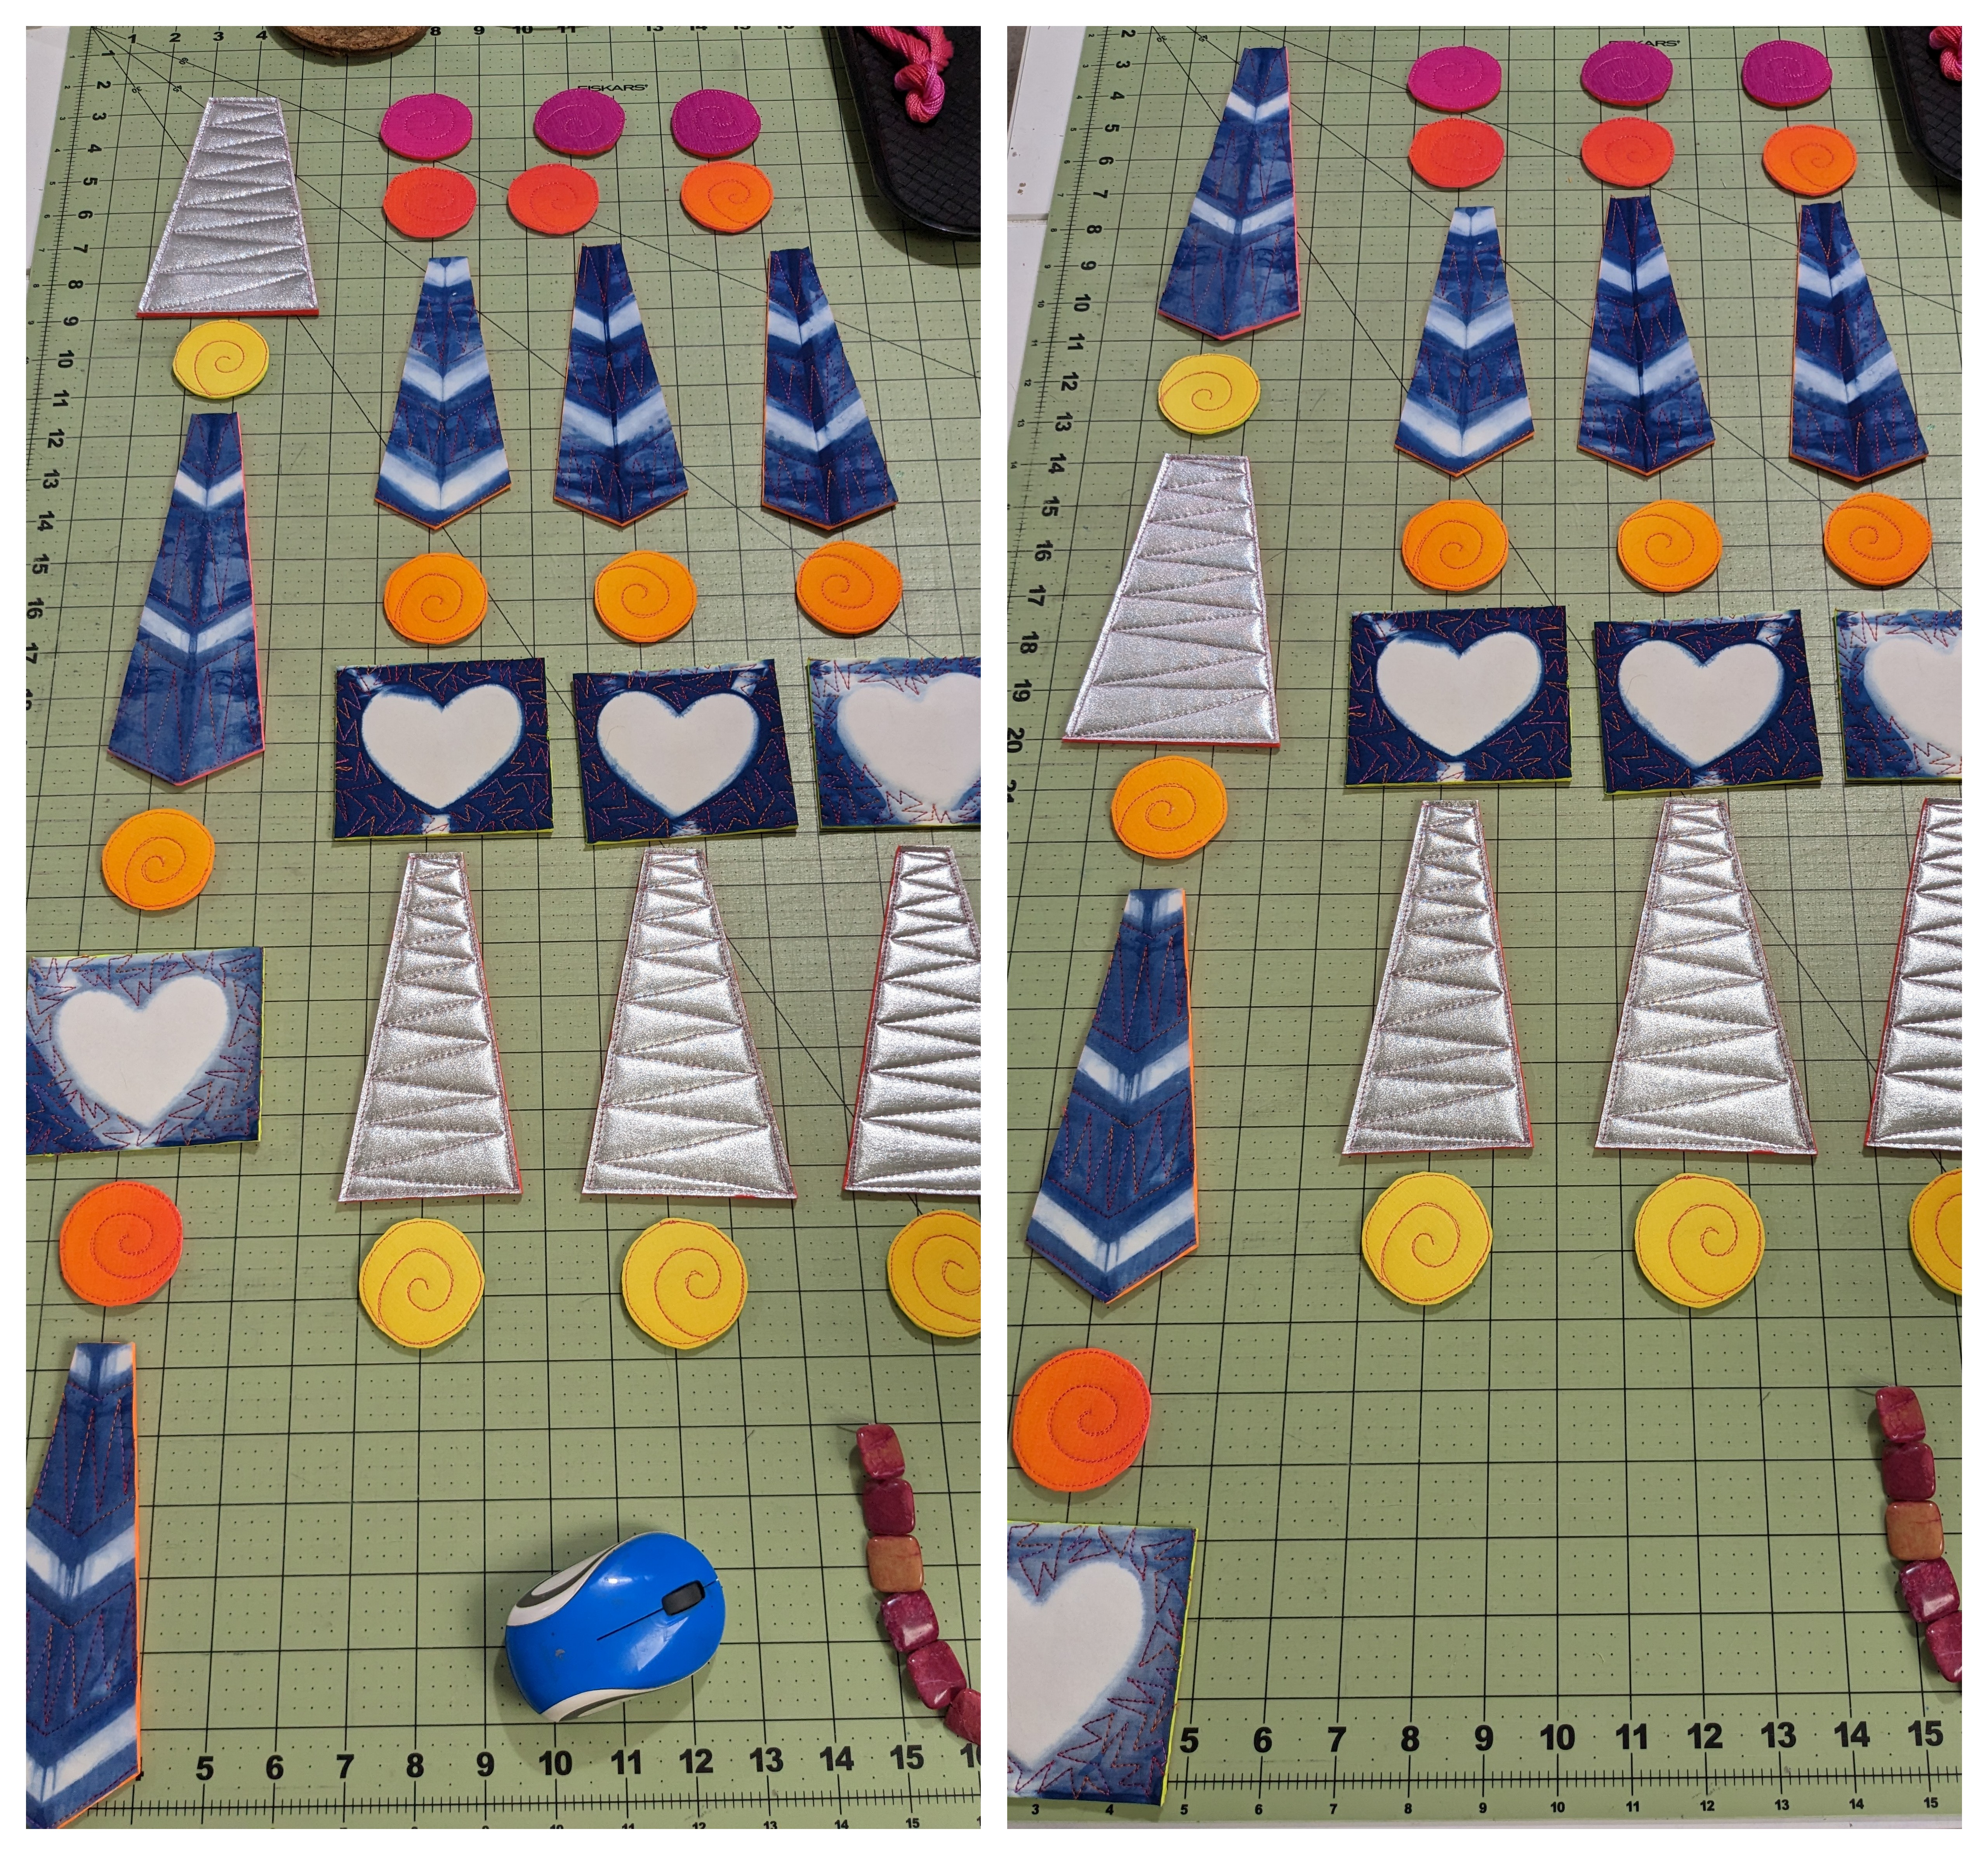
Thankfully the paint was dry when the movie finished, so I could play with the layout and figure out the assembly. My plan was to keep it simple by having one center chime (left colum in the photos below) surrounded by 3 similar chimes shown on the right below. I wanted to stagger the various elements and could have kept sorting them back and forth before I finally called it with layout shown in the right photo below.
- Metal Wreath Ring purchased from the Dollar Store months ago. As this was my first quilted wind chime, I opted to use the smaller one.
- 5wt Perle Cotton thread handdyed by Laura Wasilowski. The other threads (Aurifil, Isacord, Superior King Tut, and Superior Metallic) were used to free-motion quilt the chime elements.
- Irridescent beads recently purchased from FabMo for a whopping $0.25.They ranged in color from a beautiful green, teal, and blue--very similar to how the indigo-dyed fabrics transformed from lime green when they first came out of the dye vat and oxidizing to teal, and finally various values of indigo blue depending on how many times it is dipped into the indigo bath. The beads were used in between the fabric chime elements and add a bit of weight.

And here is my finished "Chime Chiminey" wind chime...
 |
| "Chime Chiminey," Finishes 40" tall with a 10" diameter |
I'm excited to explore more 3-D fiber art techniques in the upcoming year. As this was a prototype, I learned a lot during its creation and have a few ideas on how to improve upon the construction and design. Thankfully I have a few more wreath rings available for future wind chime making! And I look forward to gathering the courage to cut into and use more of my "Precious" fabrics for future Project Quilting Challenges.
Be sure to check out all the linked up projects made this week celebrating The First One! And I hope you'll join one or more of the remaining challenges with the next one kicking off on Sunday, January 15th!
Hi Mel, what a great finish! It truly is a one of a kind. I'm glad that you were able to take the photo shoot without a problem. Take care.
ReplyDeleteThank you...it was a fun experiment and I love watching it twirl!
DeleteI love that you dove into using your precious indigo dyed fabrics with no hesitation. When it's the right project, you just know, don't you? The chime is fantastic and I'm glad your power held and you got a clearing in the sky for the photograph. :)
ReplyDeleteThank you Yvonne! I was surprised by how easy it was to slice into the fabric after guarding it for the past 6 years! I'm so excited by the possibilities of these 3-D chimes and stocked up on more interfacing today to make more!
DeleteThat's wild! what a fun thing to make.
ReplyDeleteThank you! I had so much fun making it and can't wait to make more!!
DeleteThis is incedible! Thank you so much for sharing your process and taking us on that journey!
ReplyDeleteThank you Kim...it was certainly a whirlwind process, but an absolute joy! I love these weekly challenges and community!
DeleteVery cool project, Mel!!
ReplyDeleteThank you--It was a lot of fun to explore creating 3-D fiber art!
DeleteMel, This brought back memories of when I used to make wind chimes. I might have to do that again with fabric. Thanks for the inspiration.
ReplyDeleteI am so glad this post inspired you to revisit your wind chime creations! I am certainly hoping to make more soon!
Delete