This week's
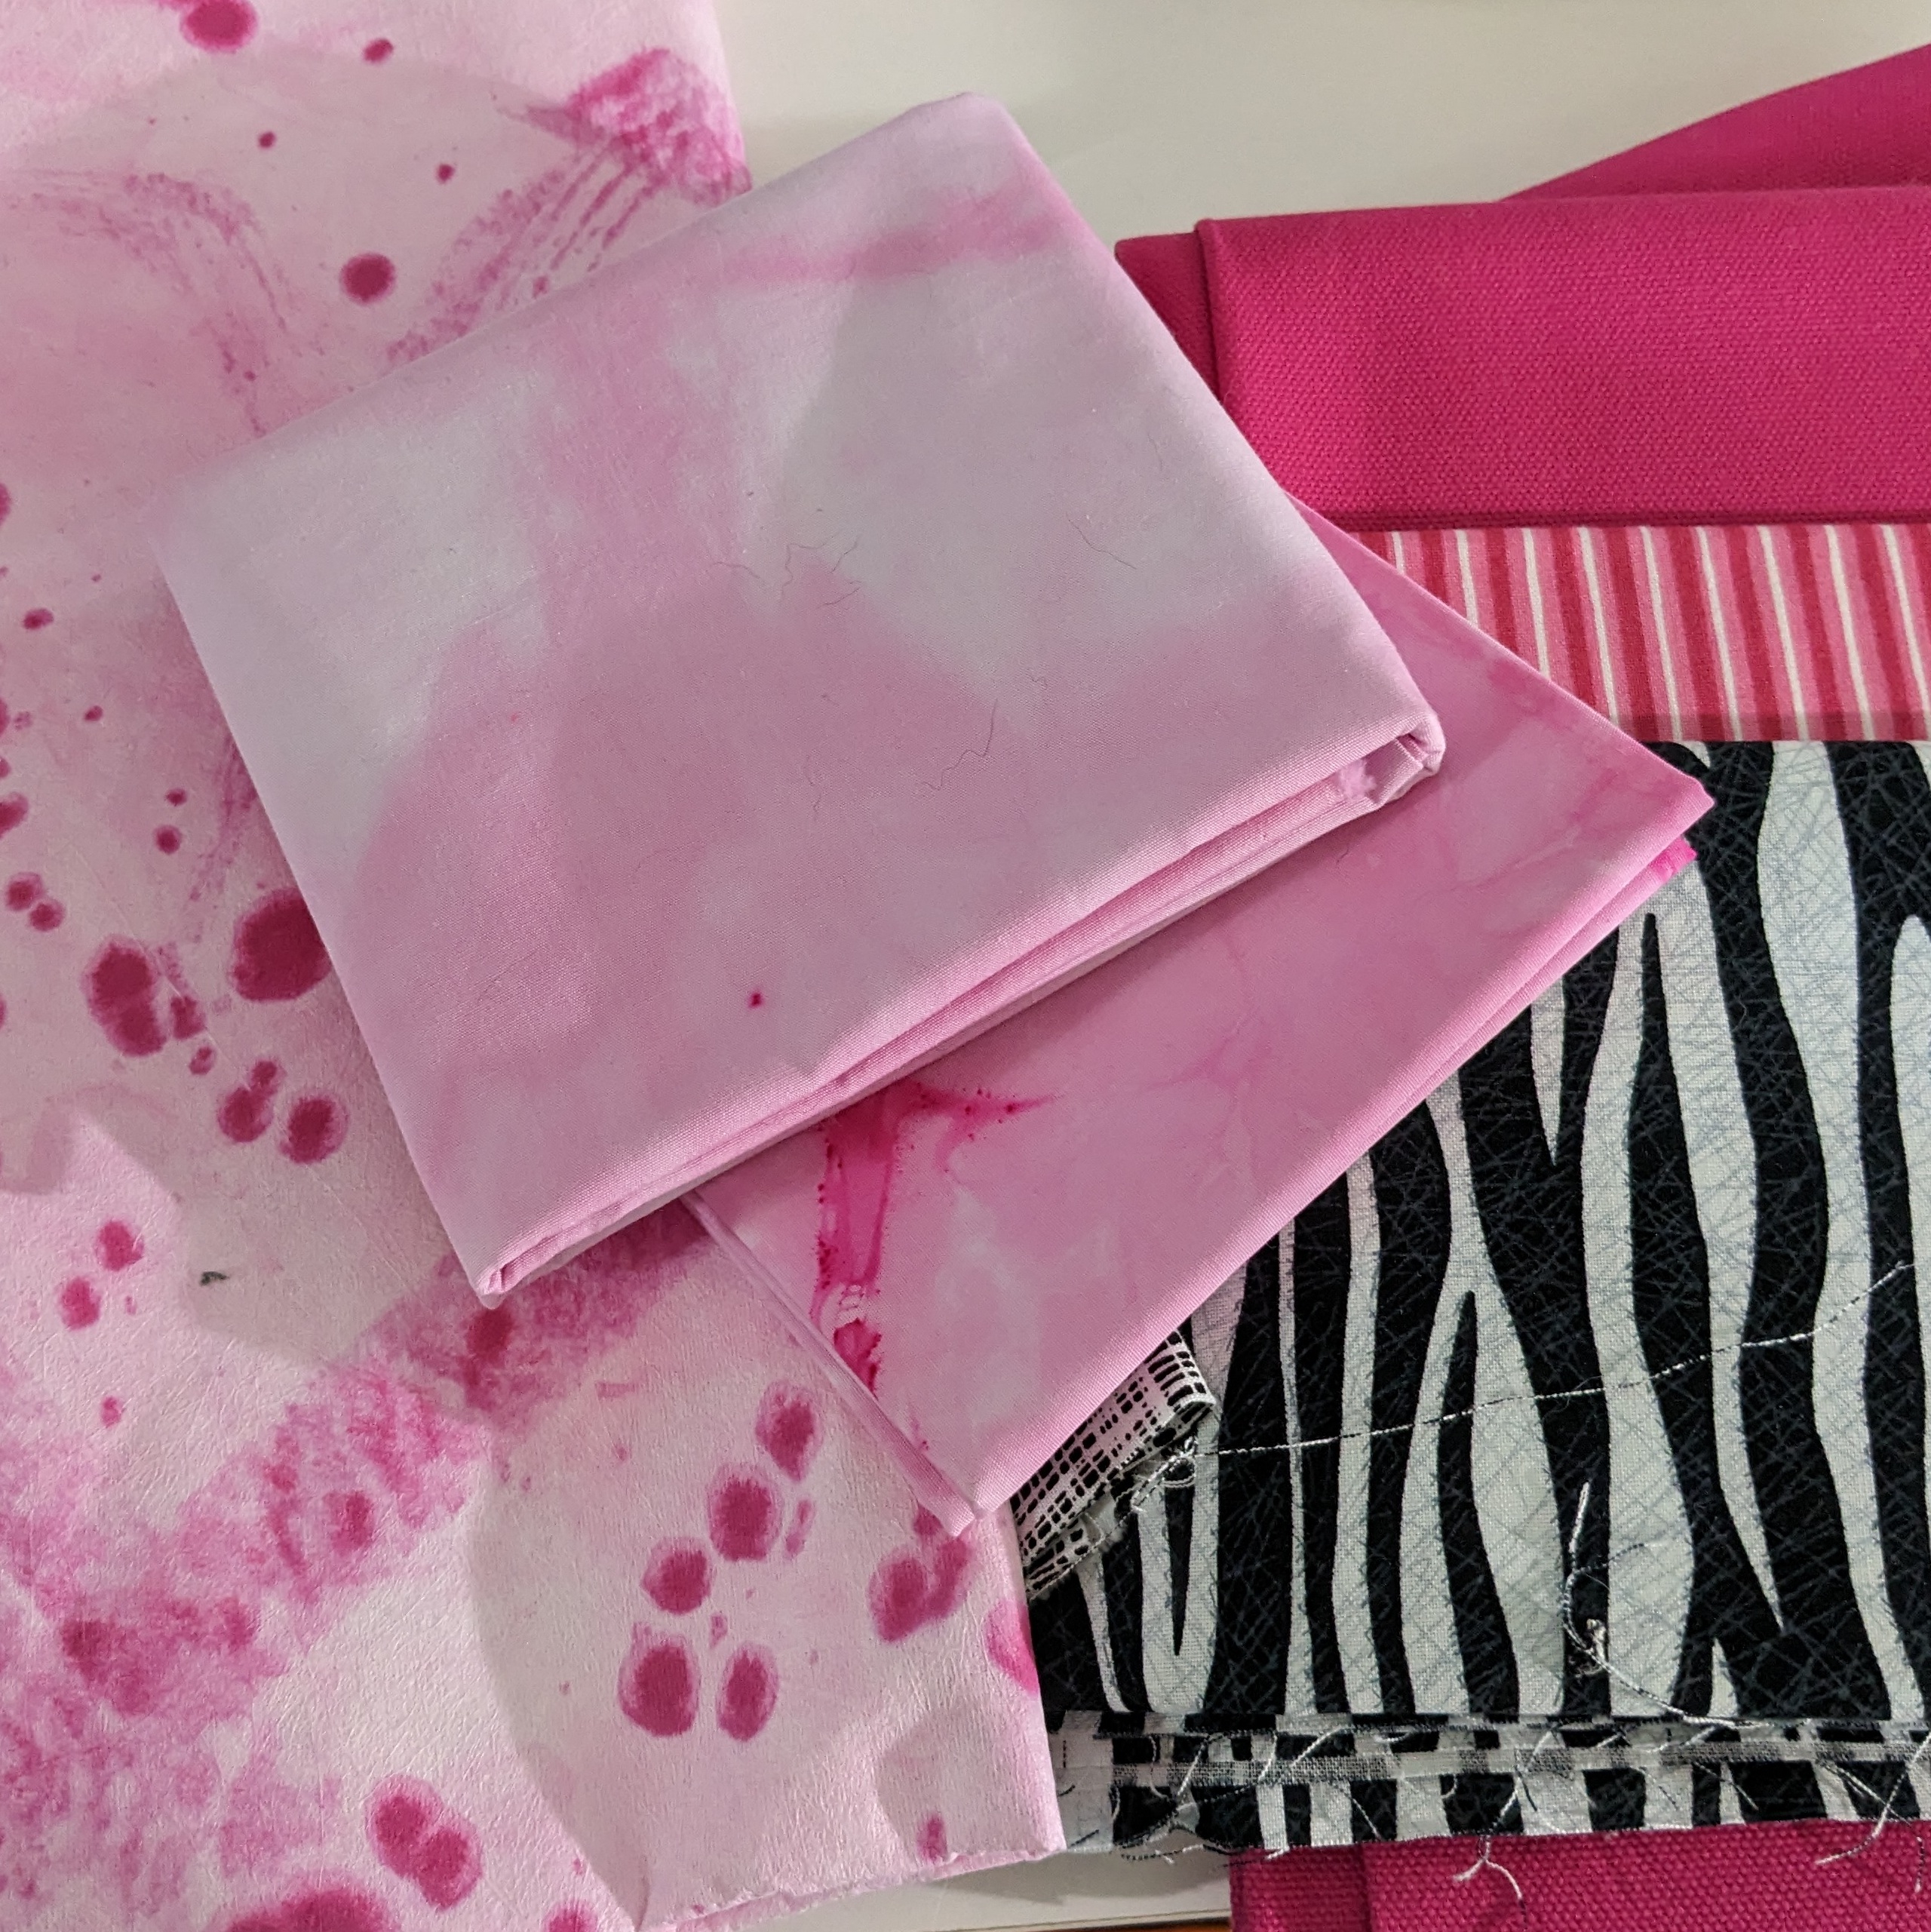
Project Quilting Pink Tint challenge theme invites participants to use some shade of pink that must dominate our project. Continuing with my goal of using precious fabrics, I pulled out an assortment of pink painted and dyed fabrics, along with some pink duck cloth, stripes, and one of my all-time favorite black and white zebra stripe prints.
My plan was to create a tool wrap for my carving gouges. While it isn't a traditional quilt--there were multiple layers of fabric and stitching, so I think I met Project Quilting's challenge construction requirements. After studying several tool wrap designs and tutorials, I set out to create my own pink prototype using the pink duck cloth.
It felt strange to be adding binding so early into the week, but that was a necessary first step to create a finished edge for the pockets that would later contain all my tools.
Of course it made sense to do a bit of block printing on the solid pink duck cloth. As this was my first time printing onto duck cloth, which is a bit more coarse than the usual Pimatex or quilting cotton fabrics, I conducted a few block printing experiments using an assortment of inks and paints.
In the end I opted to use the black Apple Barrel Gloss acrylic paint as it was fairly dark, easy to clean up, and did not require as much time to cure. The harder decision to make was choosing my favorite block prints to embellish my tool wrap.
Any initial nervousness about making mistakes during the block printing were quickly dissipated once I got started. The stamping was very meditative and fun as you can see in these short video clips. I just double and triple checked to make sure the orientation of the blocks matched the various sections that would be folded to create my tool wrap.
While the paint dried fairly quickly, I left the fabric to dry overnight and gave it a hot dry press before using it in my project. Washi tape was used as a straight-edge guide for stitching the pockets using a matching pink Aurifil thread.
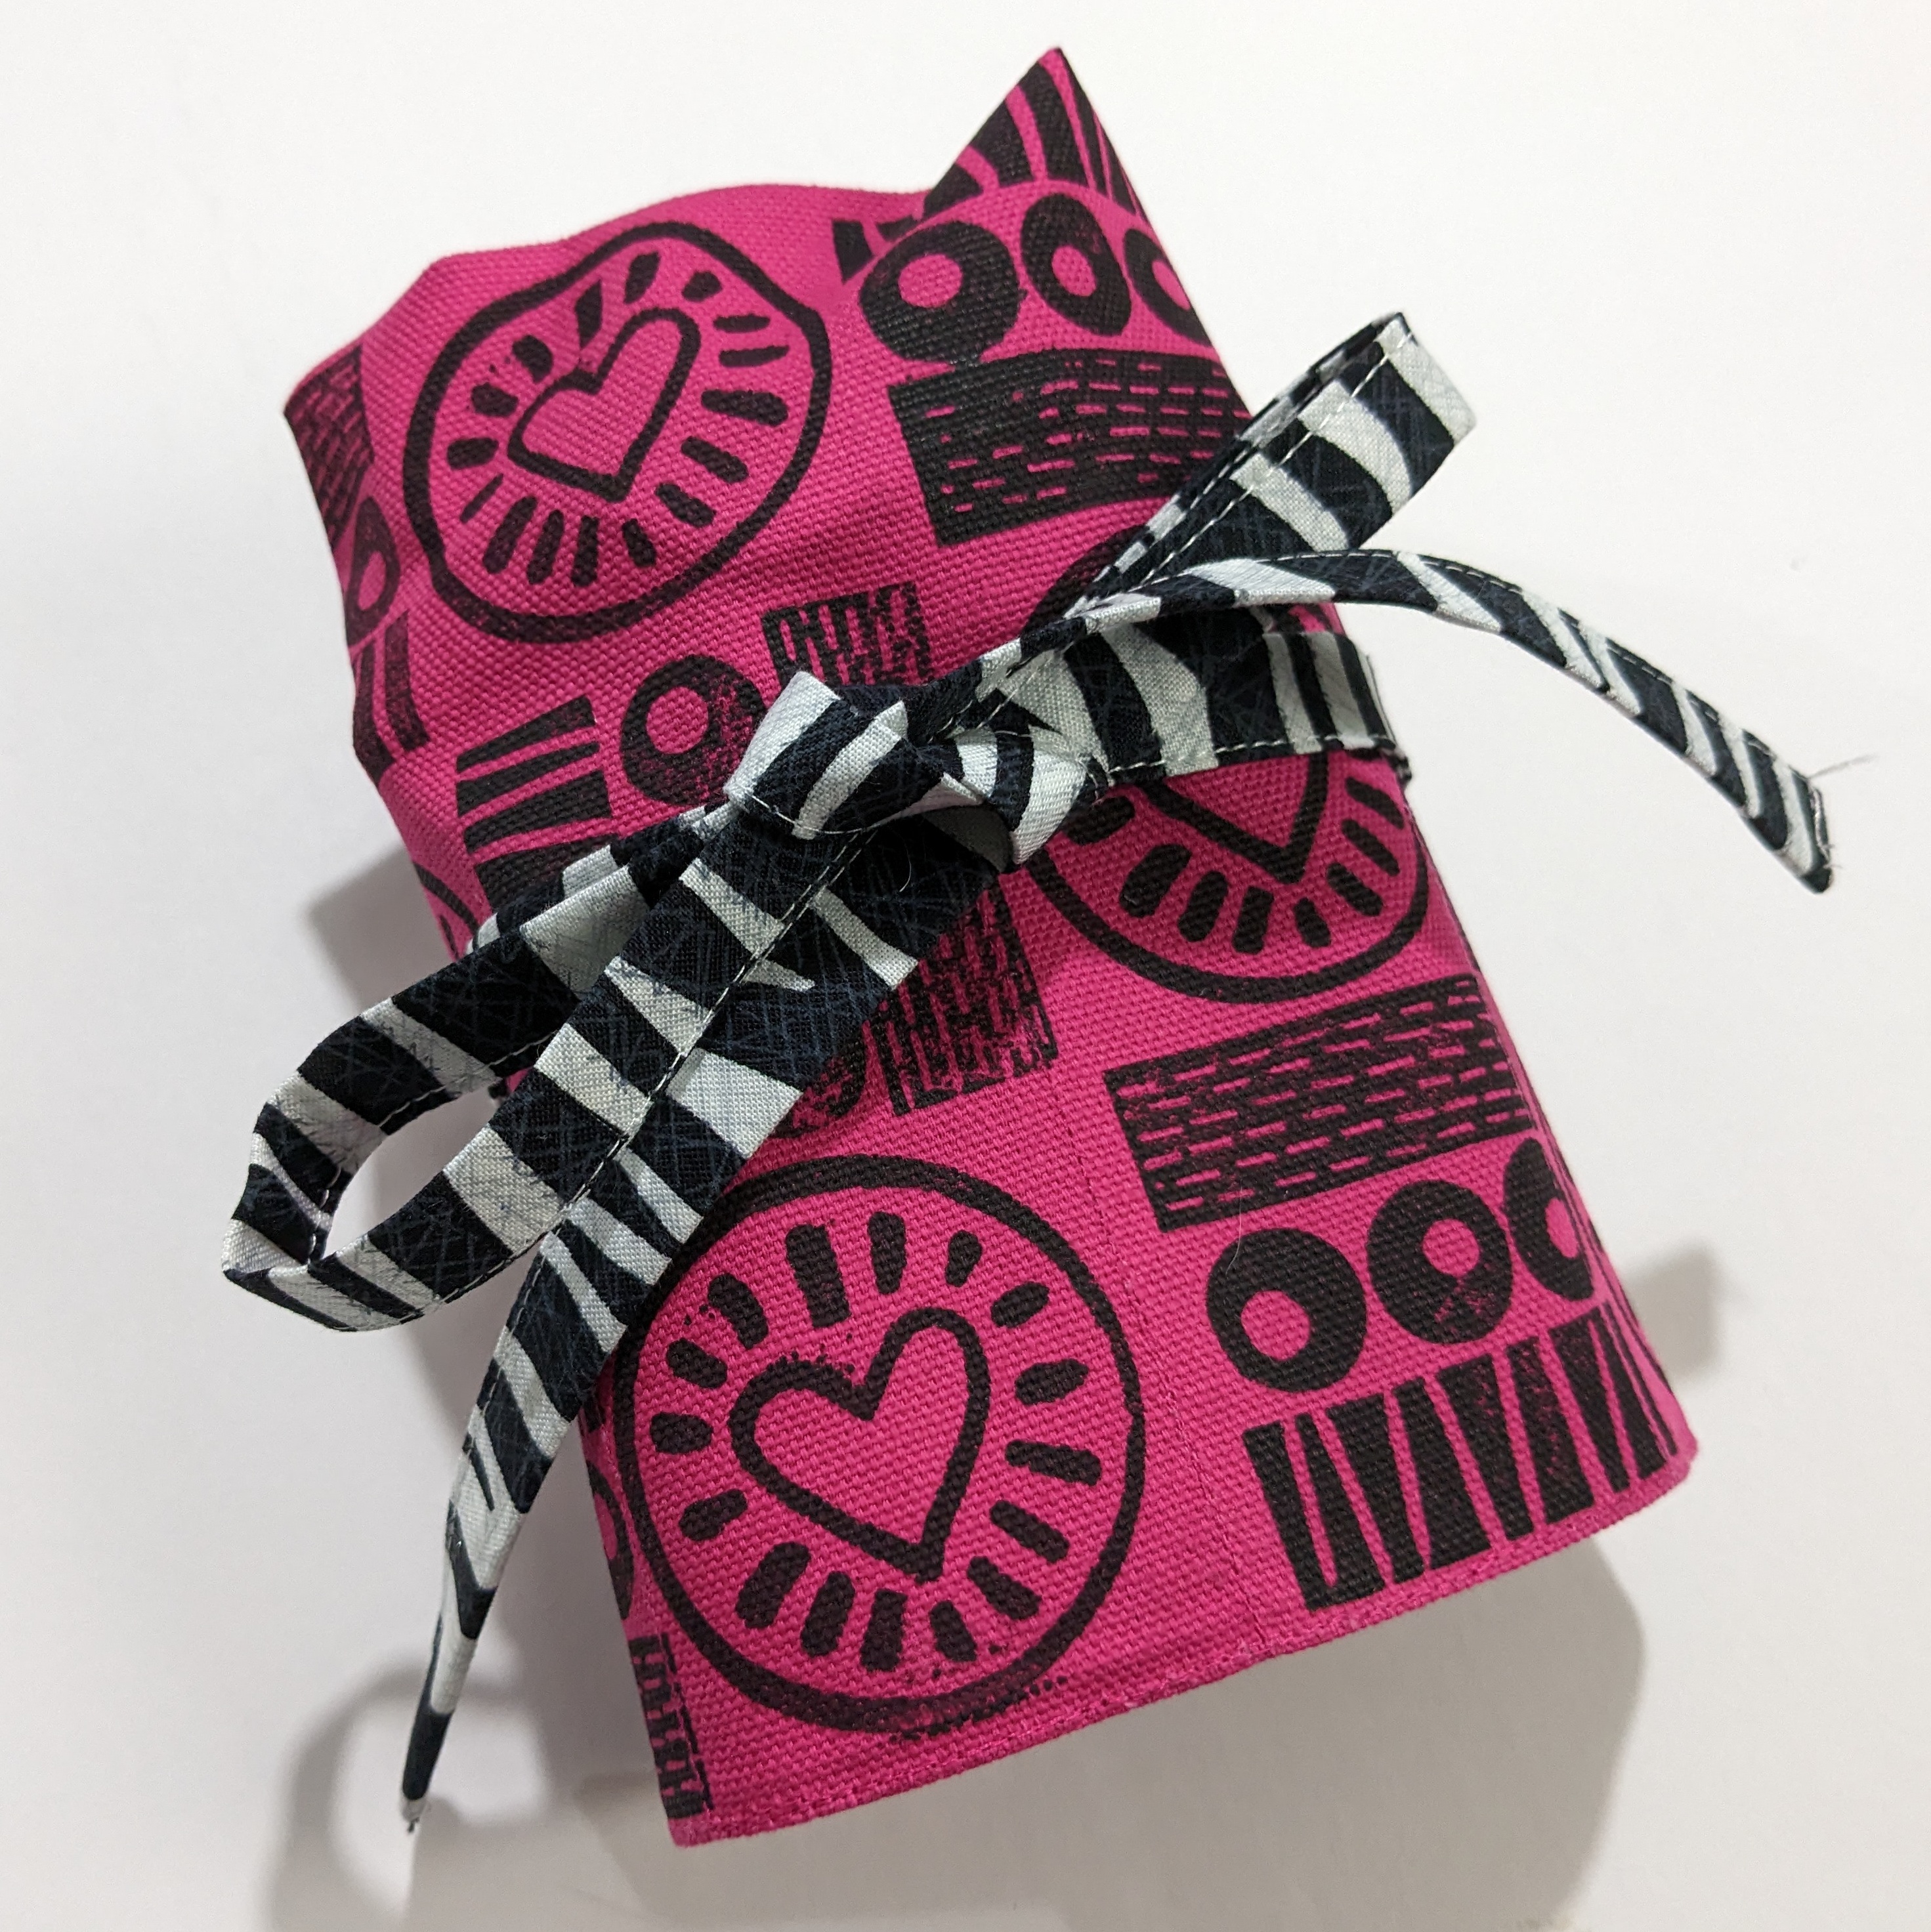
2" wide strips of the zebra striped fabric were used to finish the three remaining raw edges and to form a tie by pressing the long edges into the center and then folded in half again before top stitching the edges closed. The tie's middle point was tucked into the edge of the tool wrap just before top stitching the binding with reinforced stitching to secure the tie in place.
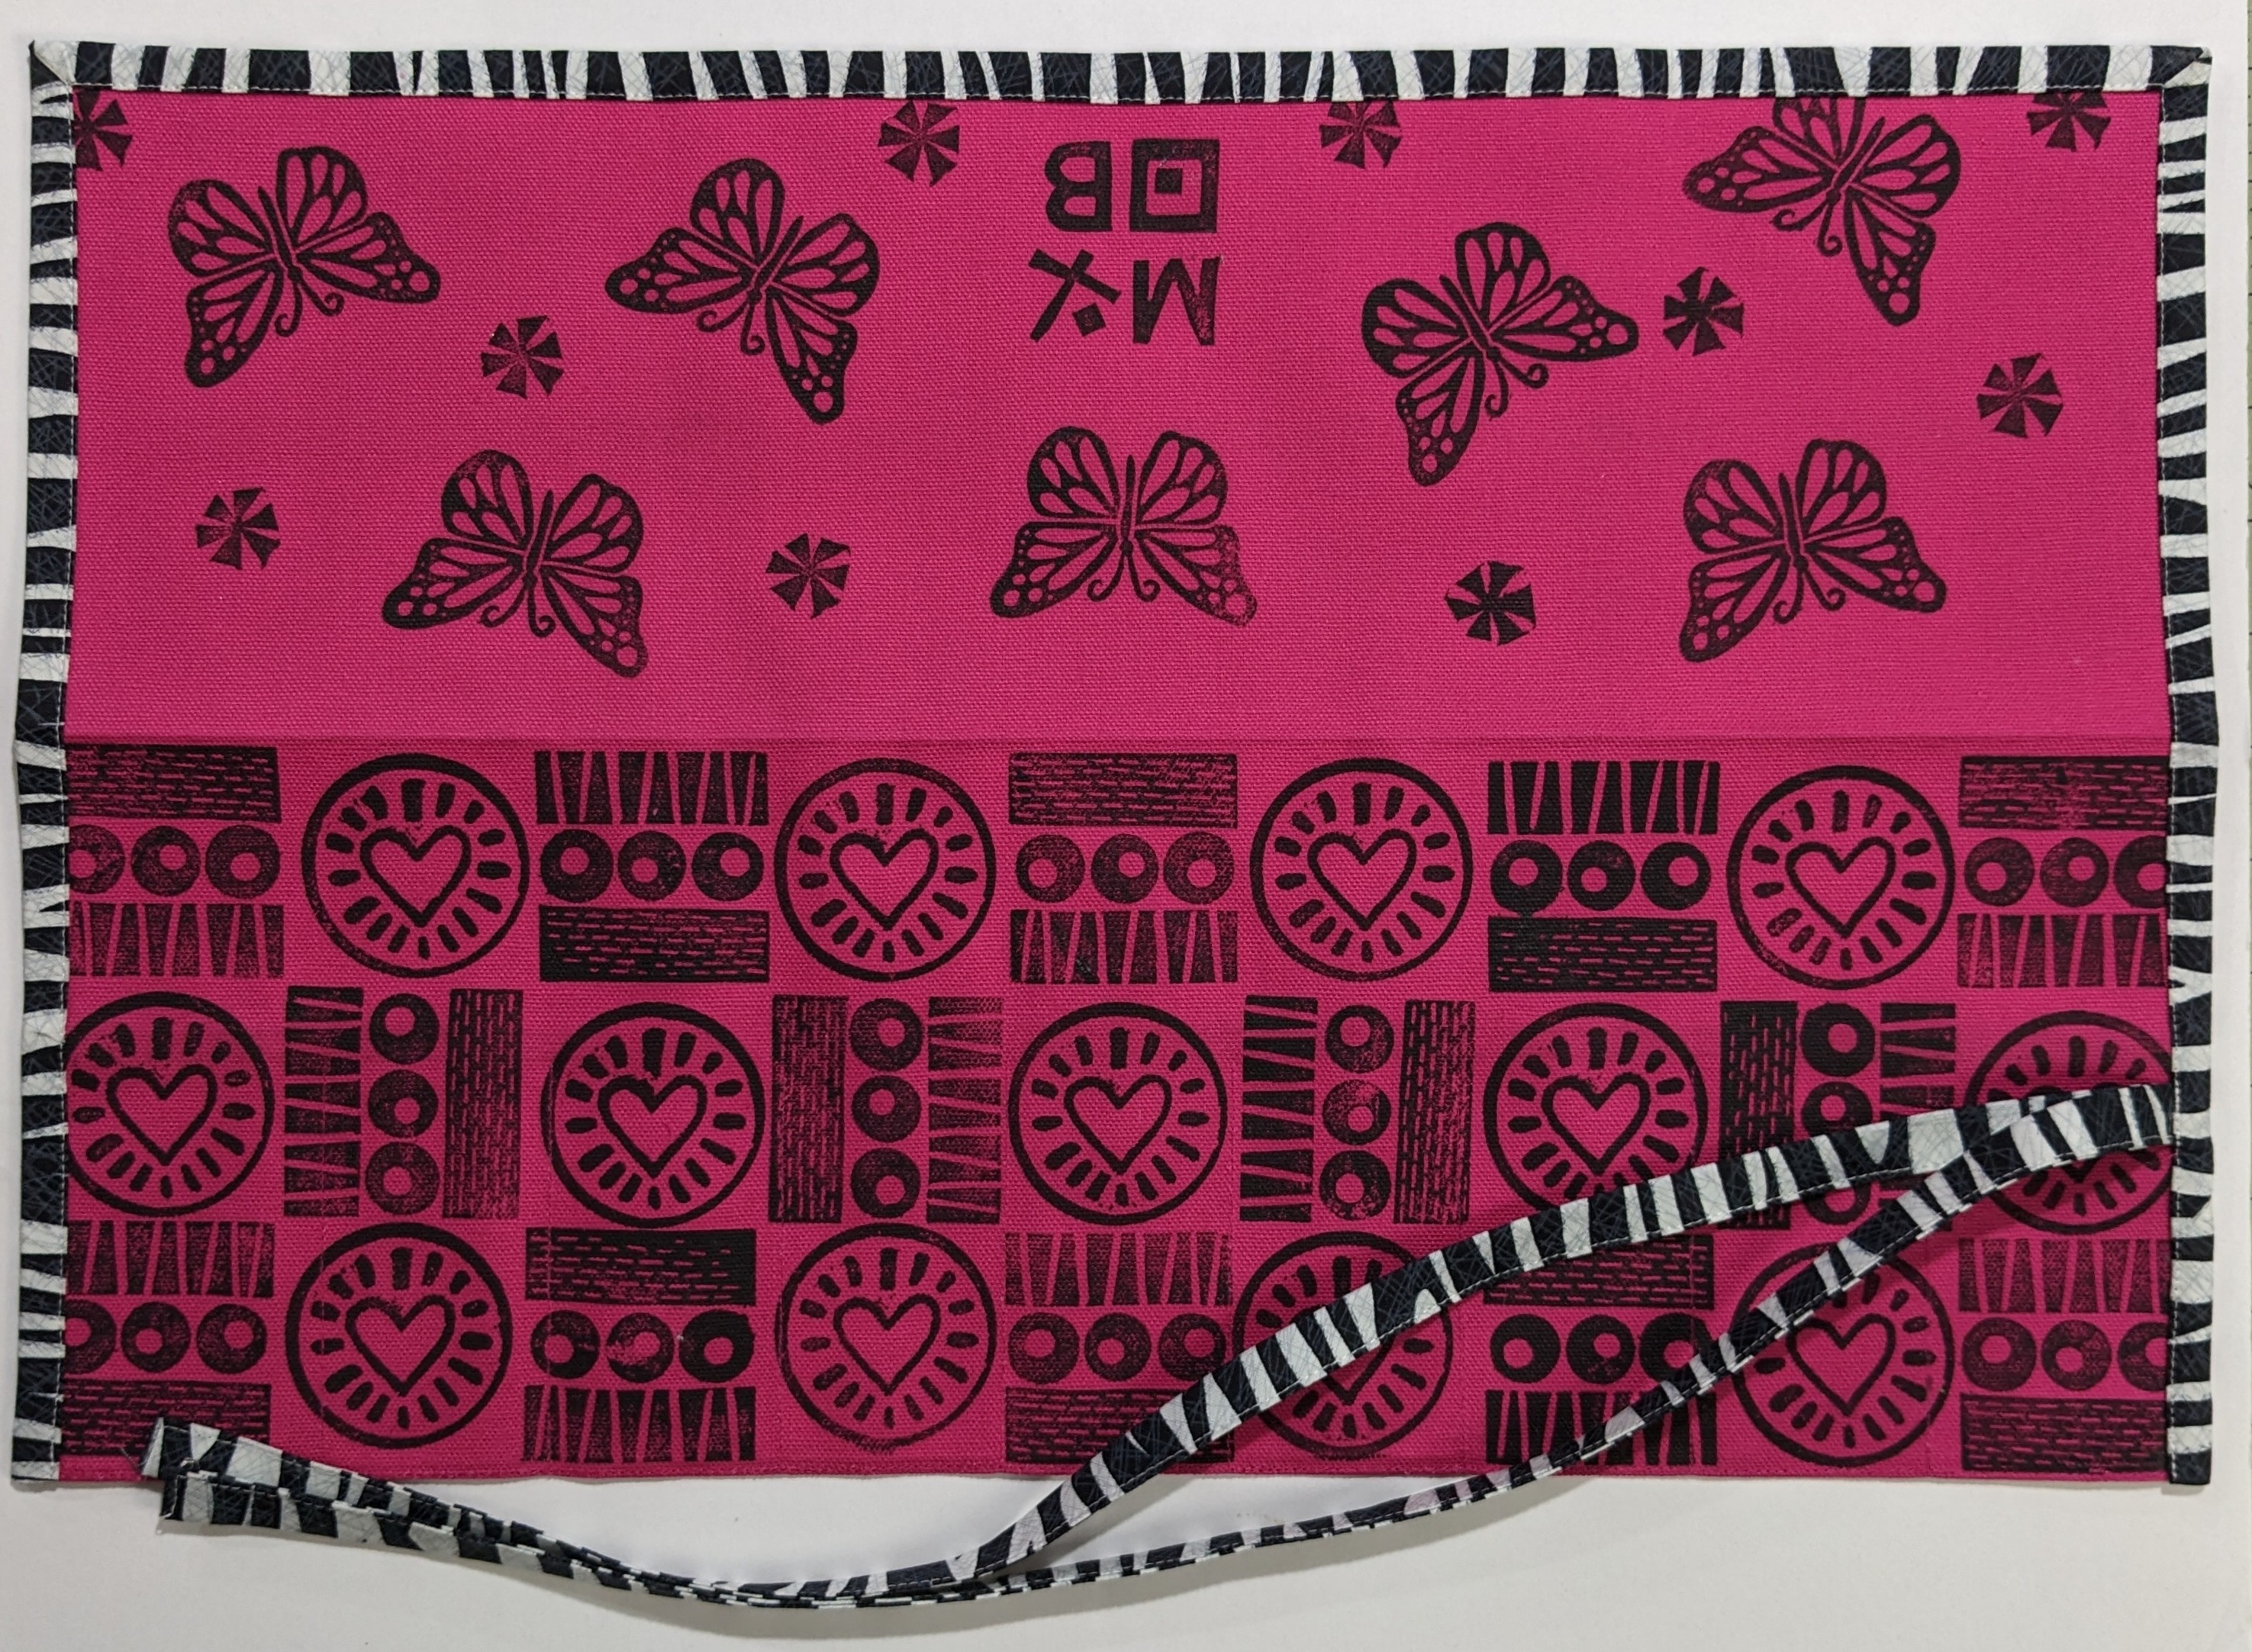
Here is the outside of my finished tool wrap measuring 19" x 12" with the flap open...
And here is the inside with all the sharp edges of my carving gouges safely tucked into their stitched pockets. You can watch an
unwrapping video here.
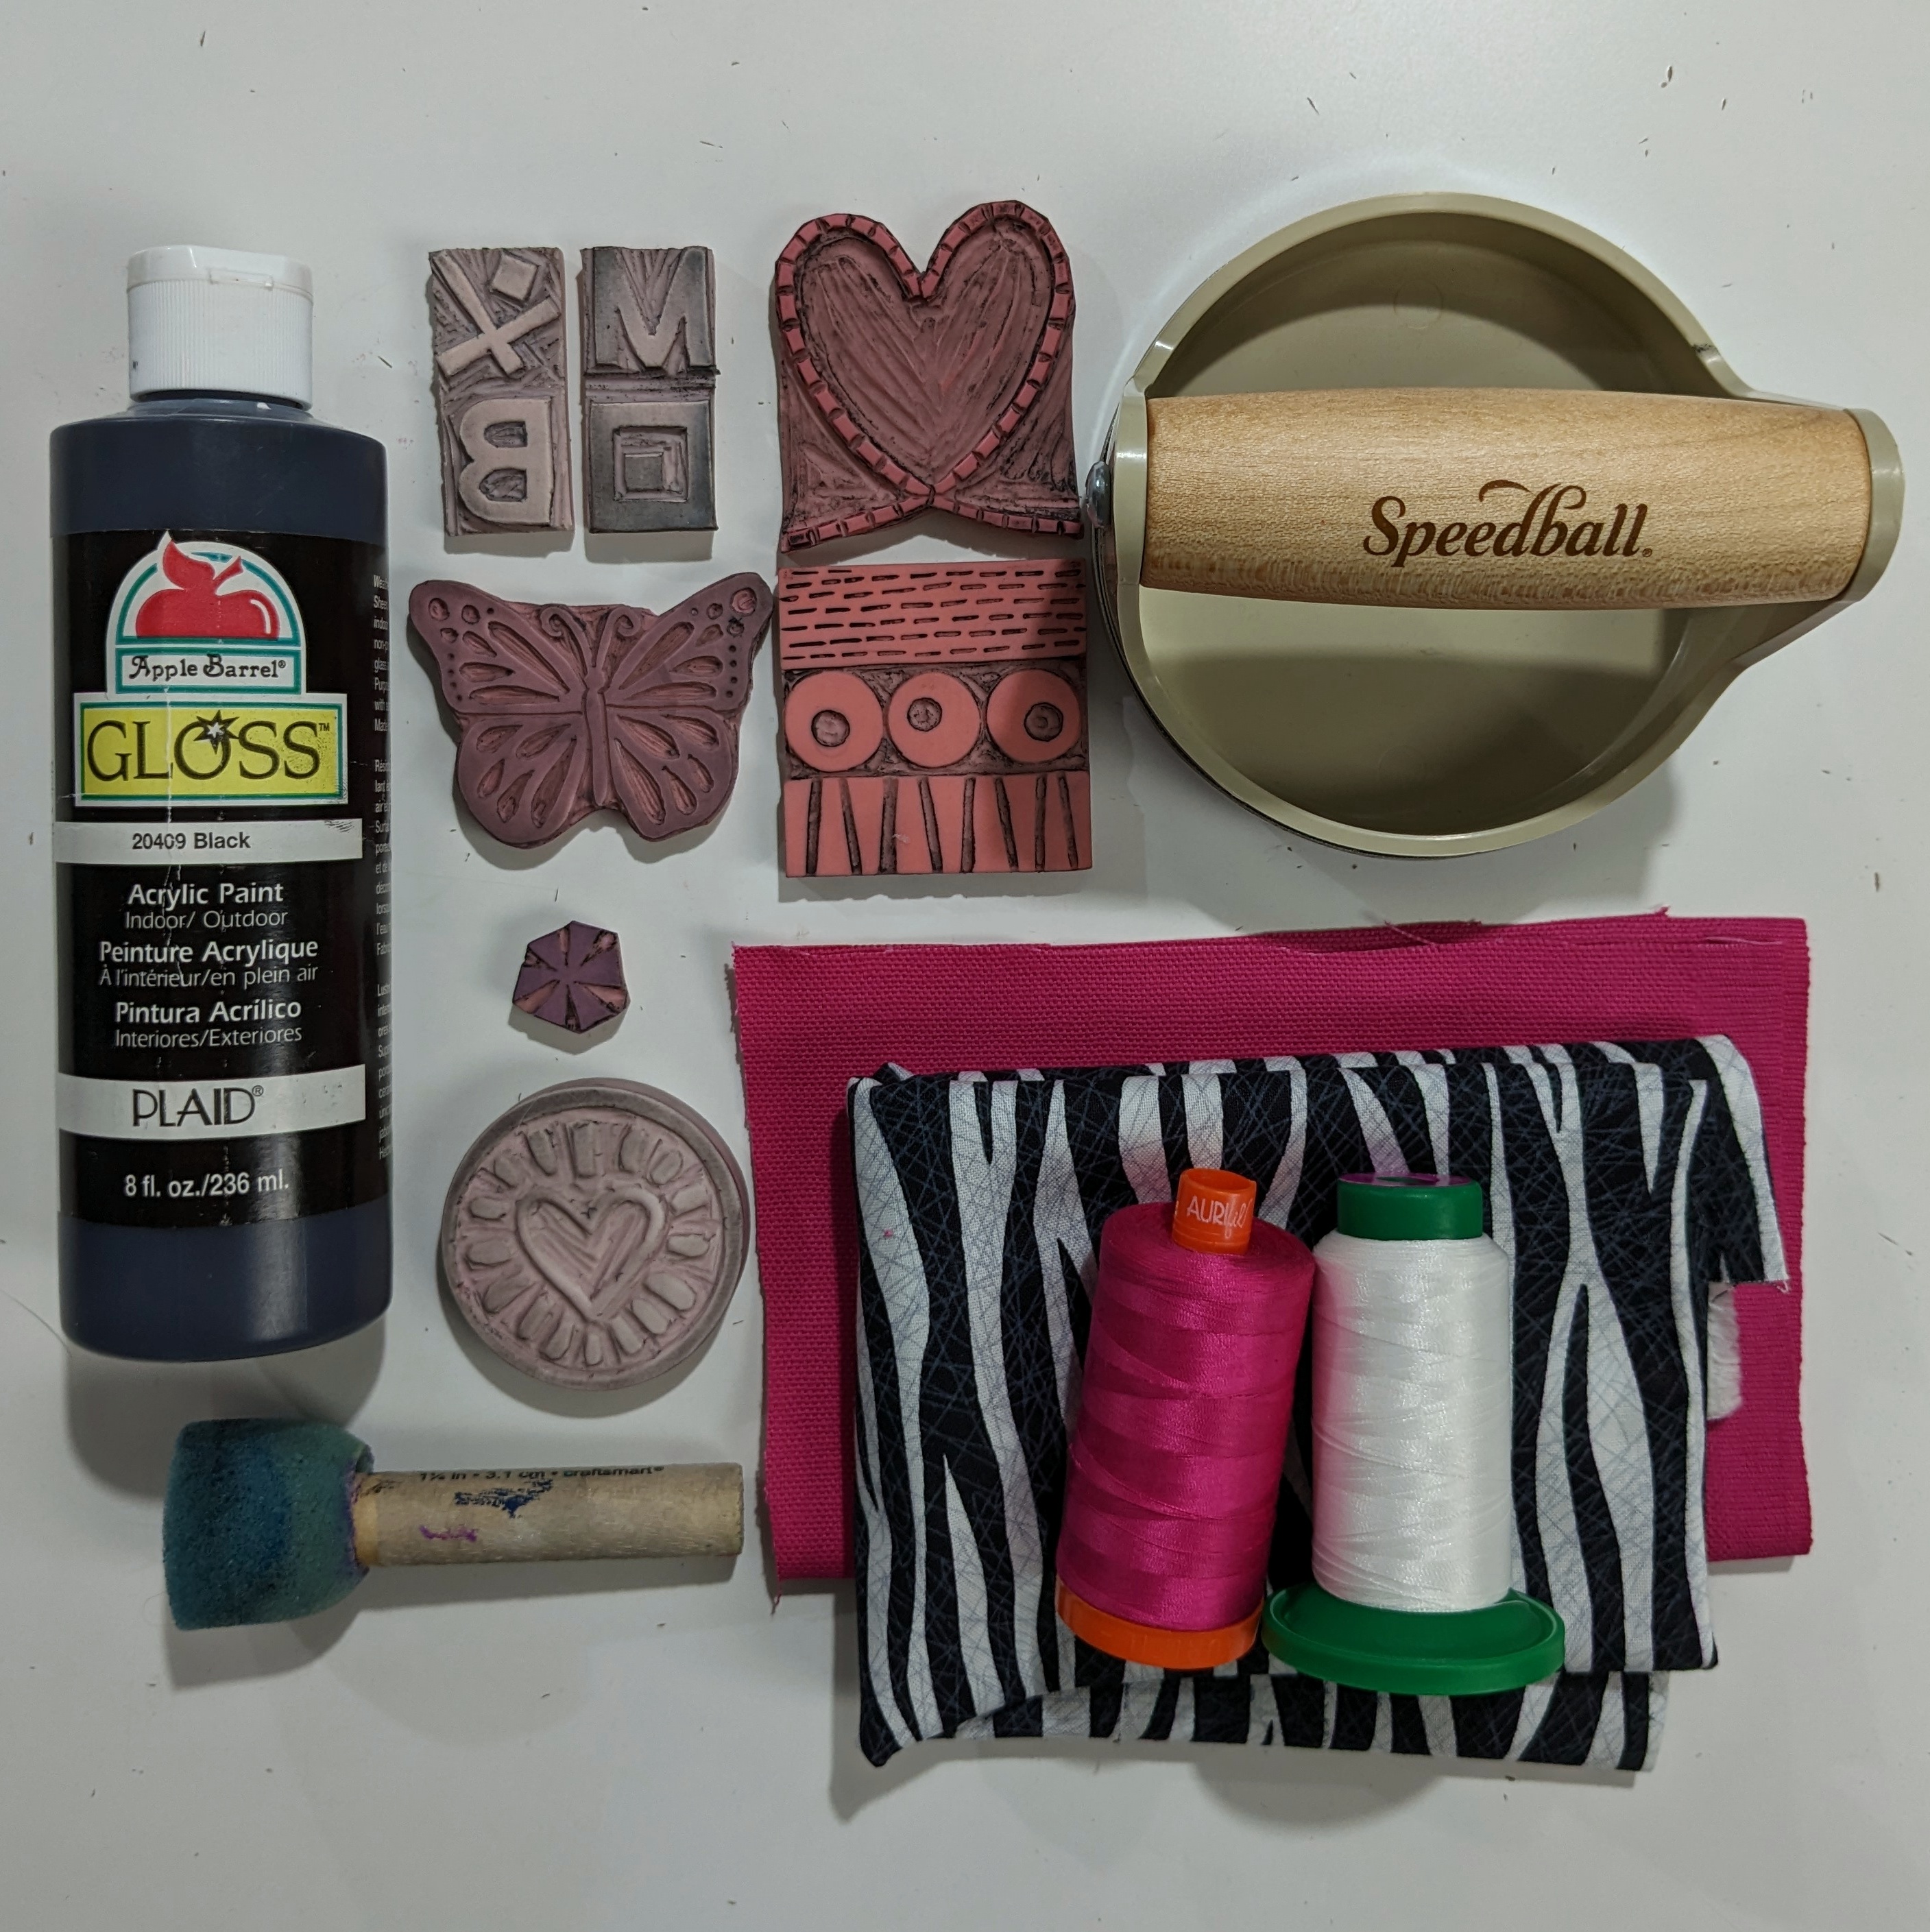
Here are many of the materials/supplies used to create my block printing tool wrap:
- acrylic paint
- hand-carved blocks (mostly carved with Speedball Speedy Carve block which is PINK!)
- foam dauber
- Speedball baren
- PINK duck cloth and zebra stripe fabric
- PINK Auril and white Isacord threads
It felt strange to wrap up my project before 9:30 PM on Saturday night as I am usually up into the early morning hours!
Add a pop of pink into your day by perusing all the Pink Tint submissions started and finished this week!


Awesome wrap, Mel! I know you are going to enjoy having an easy-to-find "safe place" for your tools.
ReplyDeleteThank you! I'm excited to use this handy tool wrap in future block printing sessions!!
DeleteSo fun to see your process. You always have the best ideas and this is a great one. I love having a place for tools and it's so easy to grab this and unroll all your tool goodness.
ReplyDeleteAww... thank you Carla! I may need to make a few more for safely storing my other tools!
DeleteWhat a handy way to keep all your tools organized and ready. I love that you decorated the wrap with your stamps, too.
ReplyDeleteThank you Yvonne! This was a really fun and fairly easy project to make and personalize. It will certainly get lots of use.
DeleteThis is incredilble! And as always - thanks for sharing your process! LOVE seeing it!
ReplyDeleteThank you Kim... another fun challenge to explore new design possibilities!!
Delete