The
annual Benefit Auction is SAQA's premier fundraising event with all proceeds raised funding SAQA's global exhibitions, publications, and educational programming. June 30th was the deadline for members to submit their donations and as usual, I waited until June 16th to start working on mine! Read on to learn more about my piece from design inspiration, materials, and process...
My SewJo has been been missing for nearly 4 month with little energy or motivation to sew much of anything. So I hoped that the Benefit Auction might spark some new excitement for art quilting. Recently I did a bit of block printing which got my creative juices flowing, so I turned to more block printing for inspiration and motivation on my submission. I started with a very rough grid sketch and then proceeded to pull out some of my favorite carved blocks to play within the grid layout. To help me audition different block combinations, I printed a gridded page of all my favorite blocks along with a second page of border designs featuring half-circle blocks.
Both mastersheets were photocopied before cutting out the various blocks and borders to fit within the grid layout.
Only a quadrant needed to be laid out before using a hinged mirror to recreate the other 3 quadrants. This way I was able to quickly audition different combinations of center blocks, mandalas, and borders!
With all these potential layouts in mind, it was time to faux dye some background squares. Lately, my go to for block printing fiber art is to use
Evolon CR Non-Woven Textile. Made from polyester and polyamide, Evolon is lightweight, super soft, absorbs acrylic paint beautifully, does not fray, and stitches beautifully by machine and hand. It can be purchased in sheets, yardage, and by the bolt. For the faux dyeing, I use liquid acrylics such as ProChem Pro Silk & Fabric paints and/or Jacquard's Dye-Na-Flow. Each 13" square of Evolon soaks up lots of paint. I left them in the pint-sized containers overnight and they were still very wet in the morning, but they dried out within an hour or so once laid out flat on corrugated plastic in the hot, dry sun. Scrunching the fabric in the cups creates the slight mottled texture.
Strips of blue painter's tape were placed 2" apart across the Evolon squares and then marked with 2" lines to create a grid outline. The tape lines helped with alignment of the block prints, while also ensuring each print was 2" square as some of the blocks are from my earlier carving days before I was able to accurately carve/trim 2" squares.
Each square contains a total of 35 block prints, so it was total concentration during the printing process. There was one small section on the blue/green square where there was a bit of overlapped printing, but otherise, I was really thrilled that I hadn't inverted any of the prints or dropped an inked block! Phew! Although I did have a small blister from this stamping session!
Even with the slight misprinted area, I loved all 3 block-printed squares but knew that sooner or later, I would need to choose one to donate. All 3 were layered with batting to proceed with quilting. I started with the green one and choose a coordinating green thread to outline some of the major lines and shapes.
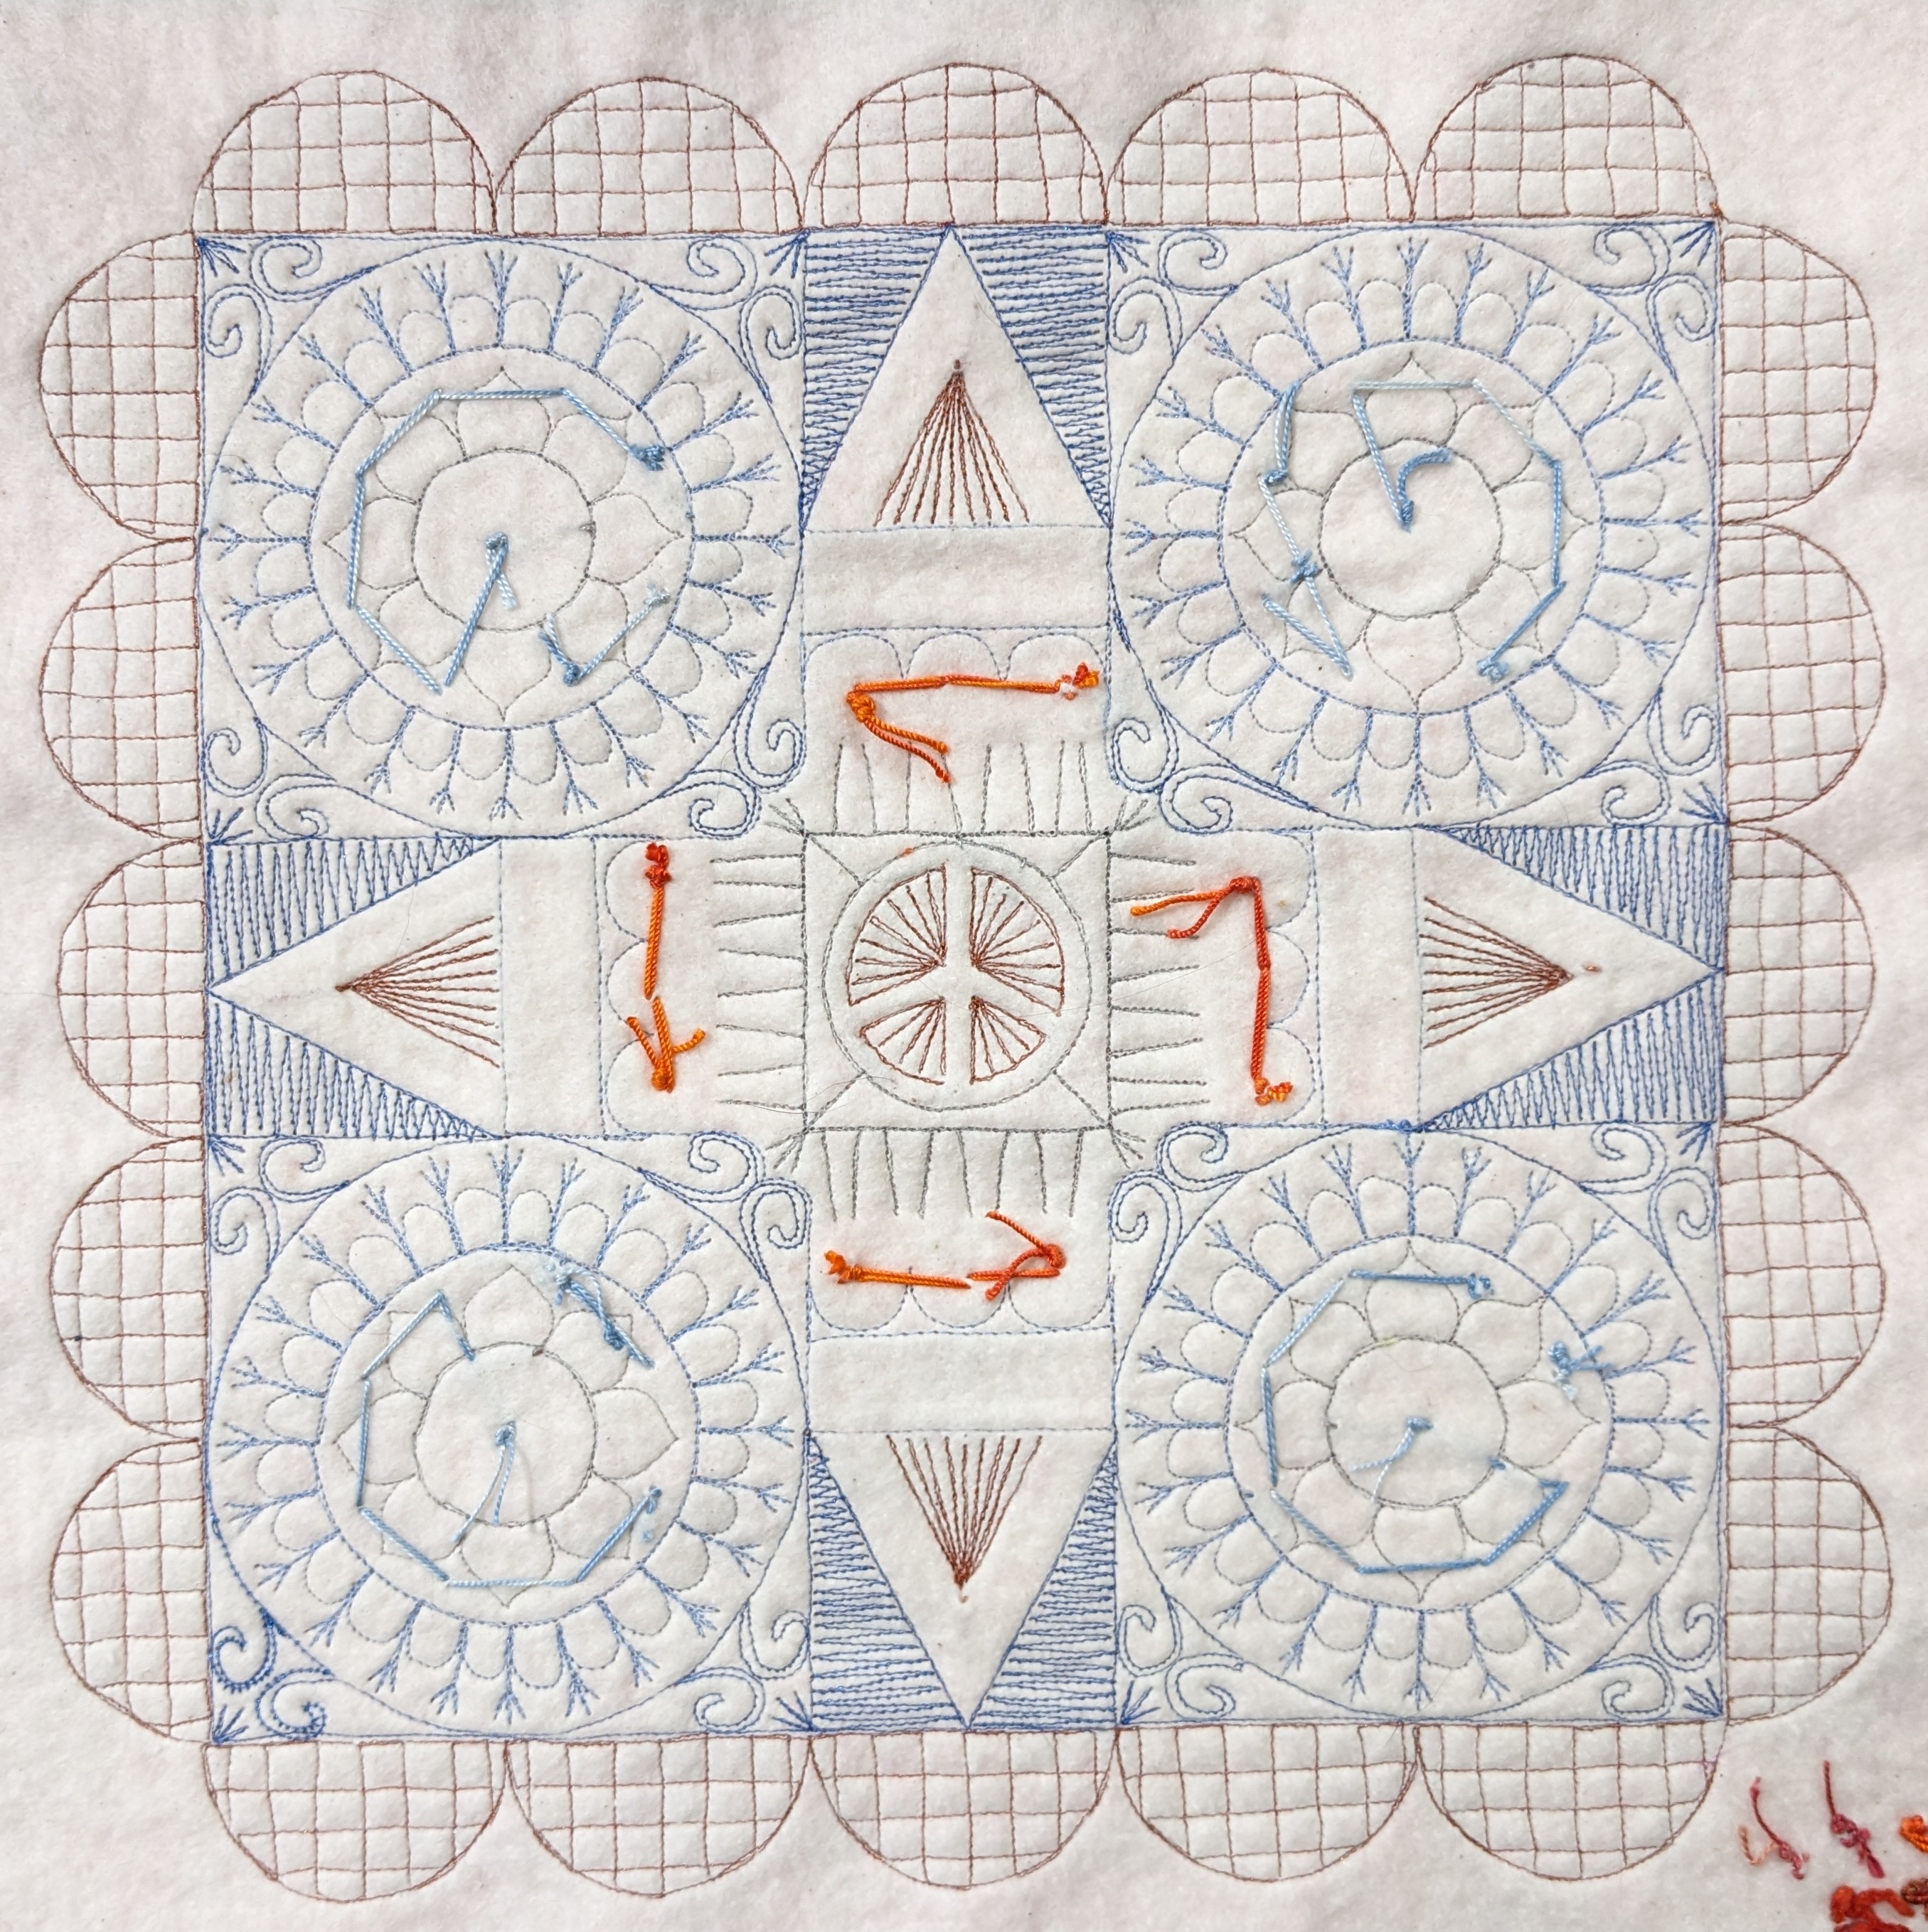
It was lovely, but the outline stitching did not really add anything to the design. So I set it aside and auditioned some contrasting threads for the red-orange square. You can see a subset of the threads that were included in the thread auditions featuring different thread brands, weights, fibers, and colors. Started with complementary blues and blue-greens before taking a deep break and diving into the metallic threads. I know metallic threads can get a bad rap for being persnickety, but I've had very good luck with Superior's metallic threads, so why not add some sparkle to this mandala design.
Whereas the green stitching was too safe, I worried that the metallic threads might be too much. There was a big sigh of relief once I finished most of the blue stitching.
I especially love the dense zig zag filler around the triangles which you can
watch me stitch in this post.
But why limit the sparkle to just metallic threads when you can add sequins too!?! Of course, more auditions were conducted with different colors, sizes, shapes, and combinations of sequins along with a few beads too. I opted to layer two sequins which were stitched in place with a colonial knot, before adding more colonial knots around each mandala.
Some copper/orange stitched accents were added to the four triangles, central peace sign, and border prints. A few last colonial knots were stitched into the circle prints!
Adding hand embroidred elements was always part of my plan so I waited to add a backing fabric so I could conceal the backside.
A square of
70 Peltex® Sew-In Ultra Firm Stabilizer was layered and fused between the batting and backing, providing some rigidity for the edges. Outline stitching was done around the border with a 1/8" echo around the perimeter before trimming along the scalloped borders. I absolutely love how this transformed the entire piece! With great concentration, the edges were painted with Tulip Dimensional Fabric paint. Once the paint was applied, it was propped onto some jars and wow did the stabilizer keep the piece flat for drying.
My hand-carved tjap block was printed on the label. My mother helped to title this piece. She asked to see just the stitching and said it reminded her of a Parcheesi game board. Not only is it a very close resemblance to the board game layout, but this project was truly lots of play with my favorite blocks, materials, and techniques. I almost forgot to add a quilt sleeve/bar, but remembered to add both before shipping it off to be included in SAQA's Benefit Auction.
Here are most of the materials used throughout this project...
Here is my artist's statement: "This year’s benefit auction inspired me to play with my favorite materials, techniques, and tools. What fun to alter the white Evolon fabric through a combination of faux dyeing, block printing, free-motion quilting, sequins, and hand-embroidery! Each transformation was both meditative and playful—hence Peace & Parcheesi!"
And here is the finished piece...
 |
Peace & Parcheesi, Finishes 12" x 12"
|
Peace & Parcheesi be available for bidding as part of the 2023
Benefit Auction that will take place online from September 14 through October 9. Mark your calendars so you can bid to win incredible fiber art pieces made by SAQA members all around the world!
I confess that it was difficult to part ways with this beauty, but thankfully my mind is now preoccupied as I revisit it's green sibling and have nine newly faux-dyed squares of evolon ready for more block printing play! I'll be sharing my progress on
Instagram and
Facebook.


Comments
Post a Comment
I am delighted you took the time and thought to leave me a comment. It may take a day or two for your comment to appear as I moderate them prior to posting to filter out spam and inappropriate content. Cheers!