
Time for another wholecloth, block printed, and stitched mandala reveal! Like the other block printed & stitched pieces, this one began by faux dyeing a square of evolon non-woven fiber. Several of the blocks have a connection to my yoga practice including the om symbol in the center and surrounding lotus flowers.


This piece came together at a slower pace as I took off several days to meditate and mull over next steps especially in choosing stitches and sequins. The stitching started in the center and I definitely had my doubts about the high contrast, electric colors. But these worries were calmed once more stitching was added into the surrounding rings. At one point, I did swap out some of the green stitches for a lighter green.

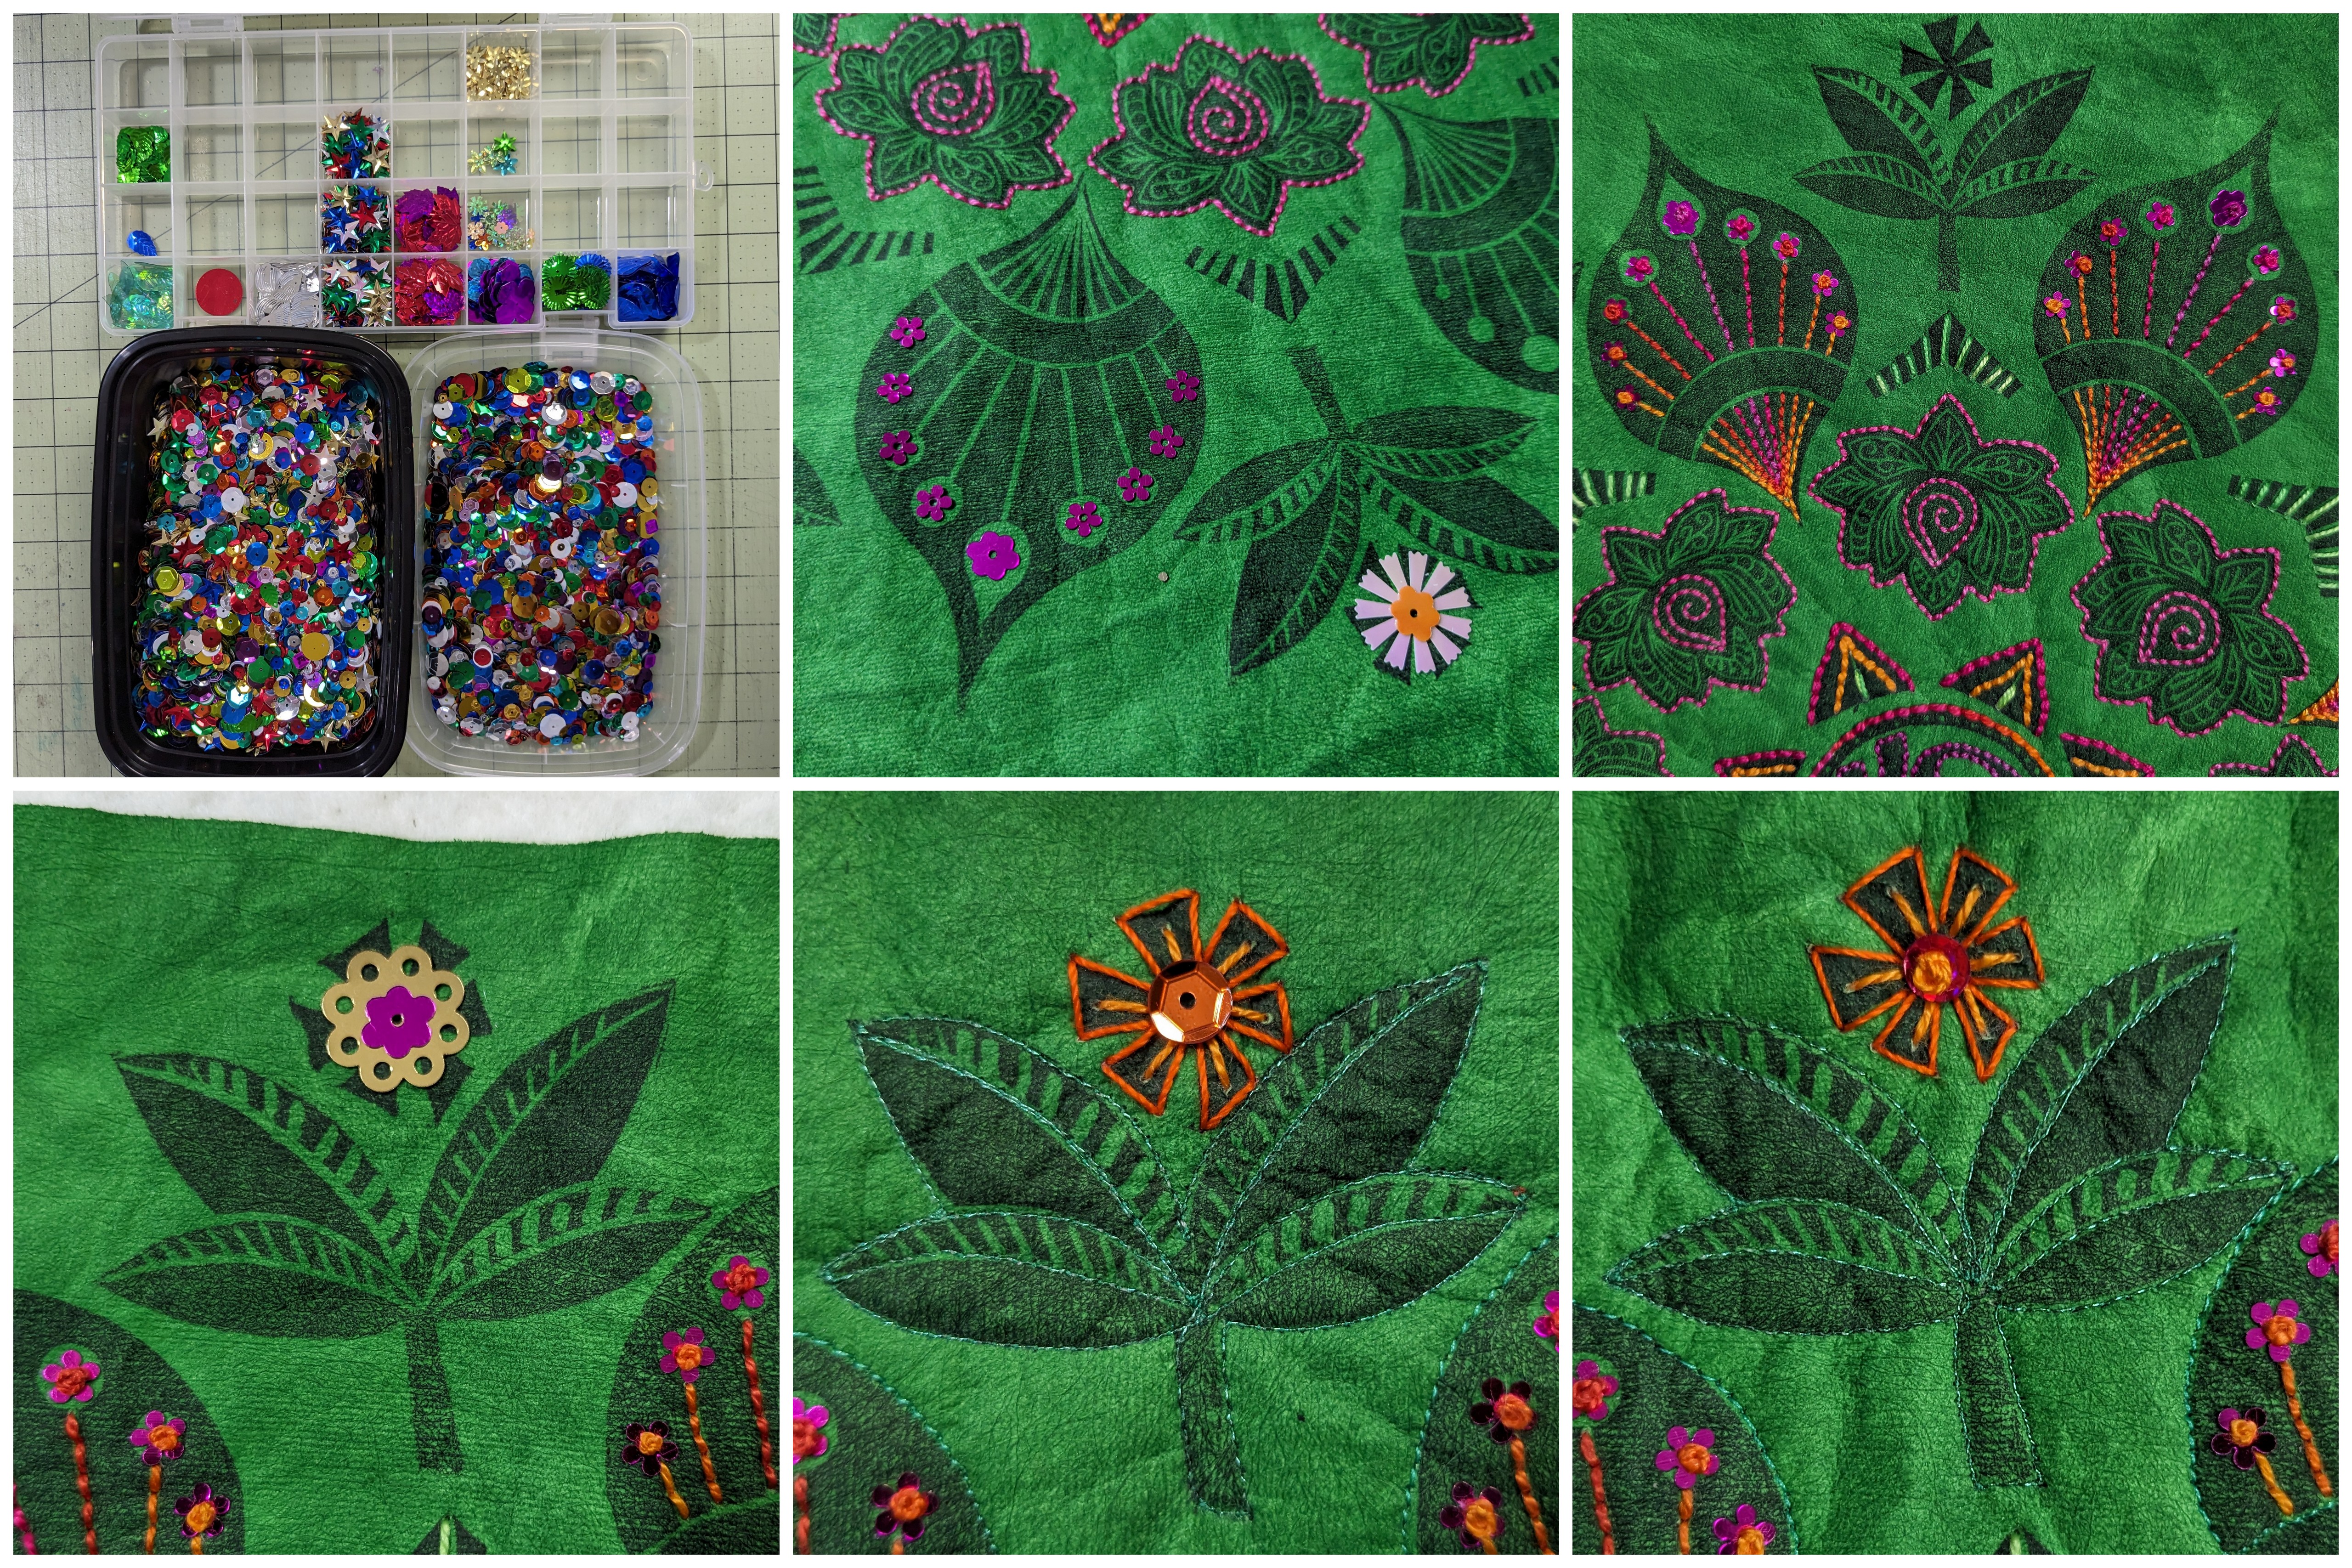
Many years ago, I was given a shoebox of sequins and other baubles. So whenever I need a particular sequin color or shape, a fair amount of digging through the bin is required to find enough matching sequins. It was time to find a better organization system which was the perfect project to catch up on some podcast episodes!
With my mostly organized sequin system, I was able to conduct several sequin auditions. There were several that I loved the shape, but not the color, and other times where I loved the color, but not the shape or size. After searching online, I added a few packages of sequins to my online shopping cart, and much to my surprise, I found a bag of them for 75 cents at Fabmo! While these new sequins did not quite work for this project, I have a feeling they will be a wonderful addition to future block printed and stitched creations!
Here are a few photos from my stitching sessions:
- Lil' Callie patiently waiting for me to finish stitching, so I could give her some belly rubs
- Retiring an old, very grungy, and worn out pair of machinger gloves to make room for a new set.

Initially I had planned to finish this mandala as a circle. But when I pulled out my large compass, I quickly discovered that a circle finish would involve cutting through the heart flowers or going off the evolon square. So a CD and plastic lid were used to outline a scalloped border!
The scallop edge was topstitched before free-motion quilting a dense zig zag fill around the flowers. Once the stitching was complete, I took a photo of the backside...

...although I totally forgot to take a photo of the quilt top as I was ready to layer and finish this piece. In my excitement, I may have cut a backing square that was JUST barely big enough with mere threads to spare after stitching around the perimeter of the layered quilt sandwich! Phew! Thankfully I trim the edges very close to the perimeter stitching and finish with Tulip puffy paint.

 |
| "Yoga Flow(ers)" Finishes 13" x 13" |
And a detail photo...


It is always fascinating to see before and after photos that showcase how the stitching totally transforms each block printed design!

Thanks for joining me on this creative journey. Time to meditate whether to stitch the remaining block printed mandalas, print up new designs, or explore other block printed and stitched creations.

Comments
Post a Comment
I am delighted you took the time and thought to leave me a comment. It may take a day or two for your comment to appear as I moderate them prior to posting to filter out spam and inappropriate content. Cheers!