
This week's Project Quilting 15.2 challenge theme is Sky Colors. Participants were challenged to create a project that takes inspiration from the colors of the sky, but exclude or use less than 10% of the usual cerulean blue color.
I decided to create a night sky and pulled this rich and very textured palette of fabric swatches from Fabmo which includes silvers, dark blues, charcoal, and black fabrics.


All my fabrics were fused with Wonder Under...

And a very rough sketch was made as a road map for my project. Note that I did find that stamp the next day, but it was too late as I was much more excited for this new design direction!

In preparation for quilting, the fabric swatches were fused onto squares of black craft felt which doubled as both my batting and my quilt backing.


My trusty blue painter's tape was used to mark wedge shapes from each quilt sandwich before adding a bit of quilting, especially to the more solid-like fabrics.


Instead of sitting around watching paint to dry, we made a froyo run, followed by a bit of photo editing and starting my blog post. When I returned to the studio, all my wedges were dry and safe to handle.

Up until this point, I honestly wasn't sure how the final assembly would all come together. At first I thought it might be easier to start with the outside and work my way into the center, but there were too many unknowns with this approach. So like most of my mandalas, I started with the center and worked my way out one ring at a time. My portable ironing board had a radial grid which helped to align all the wedges before glue basting.

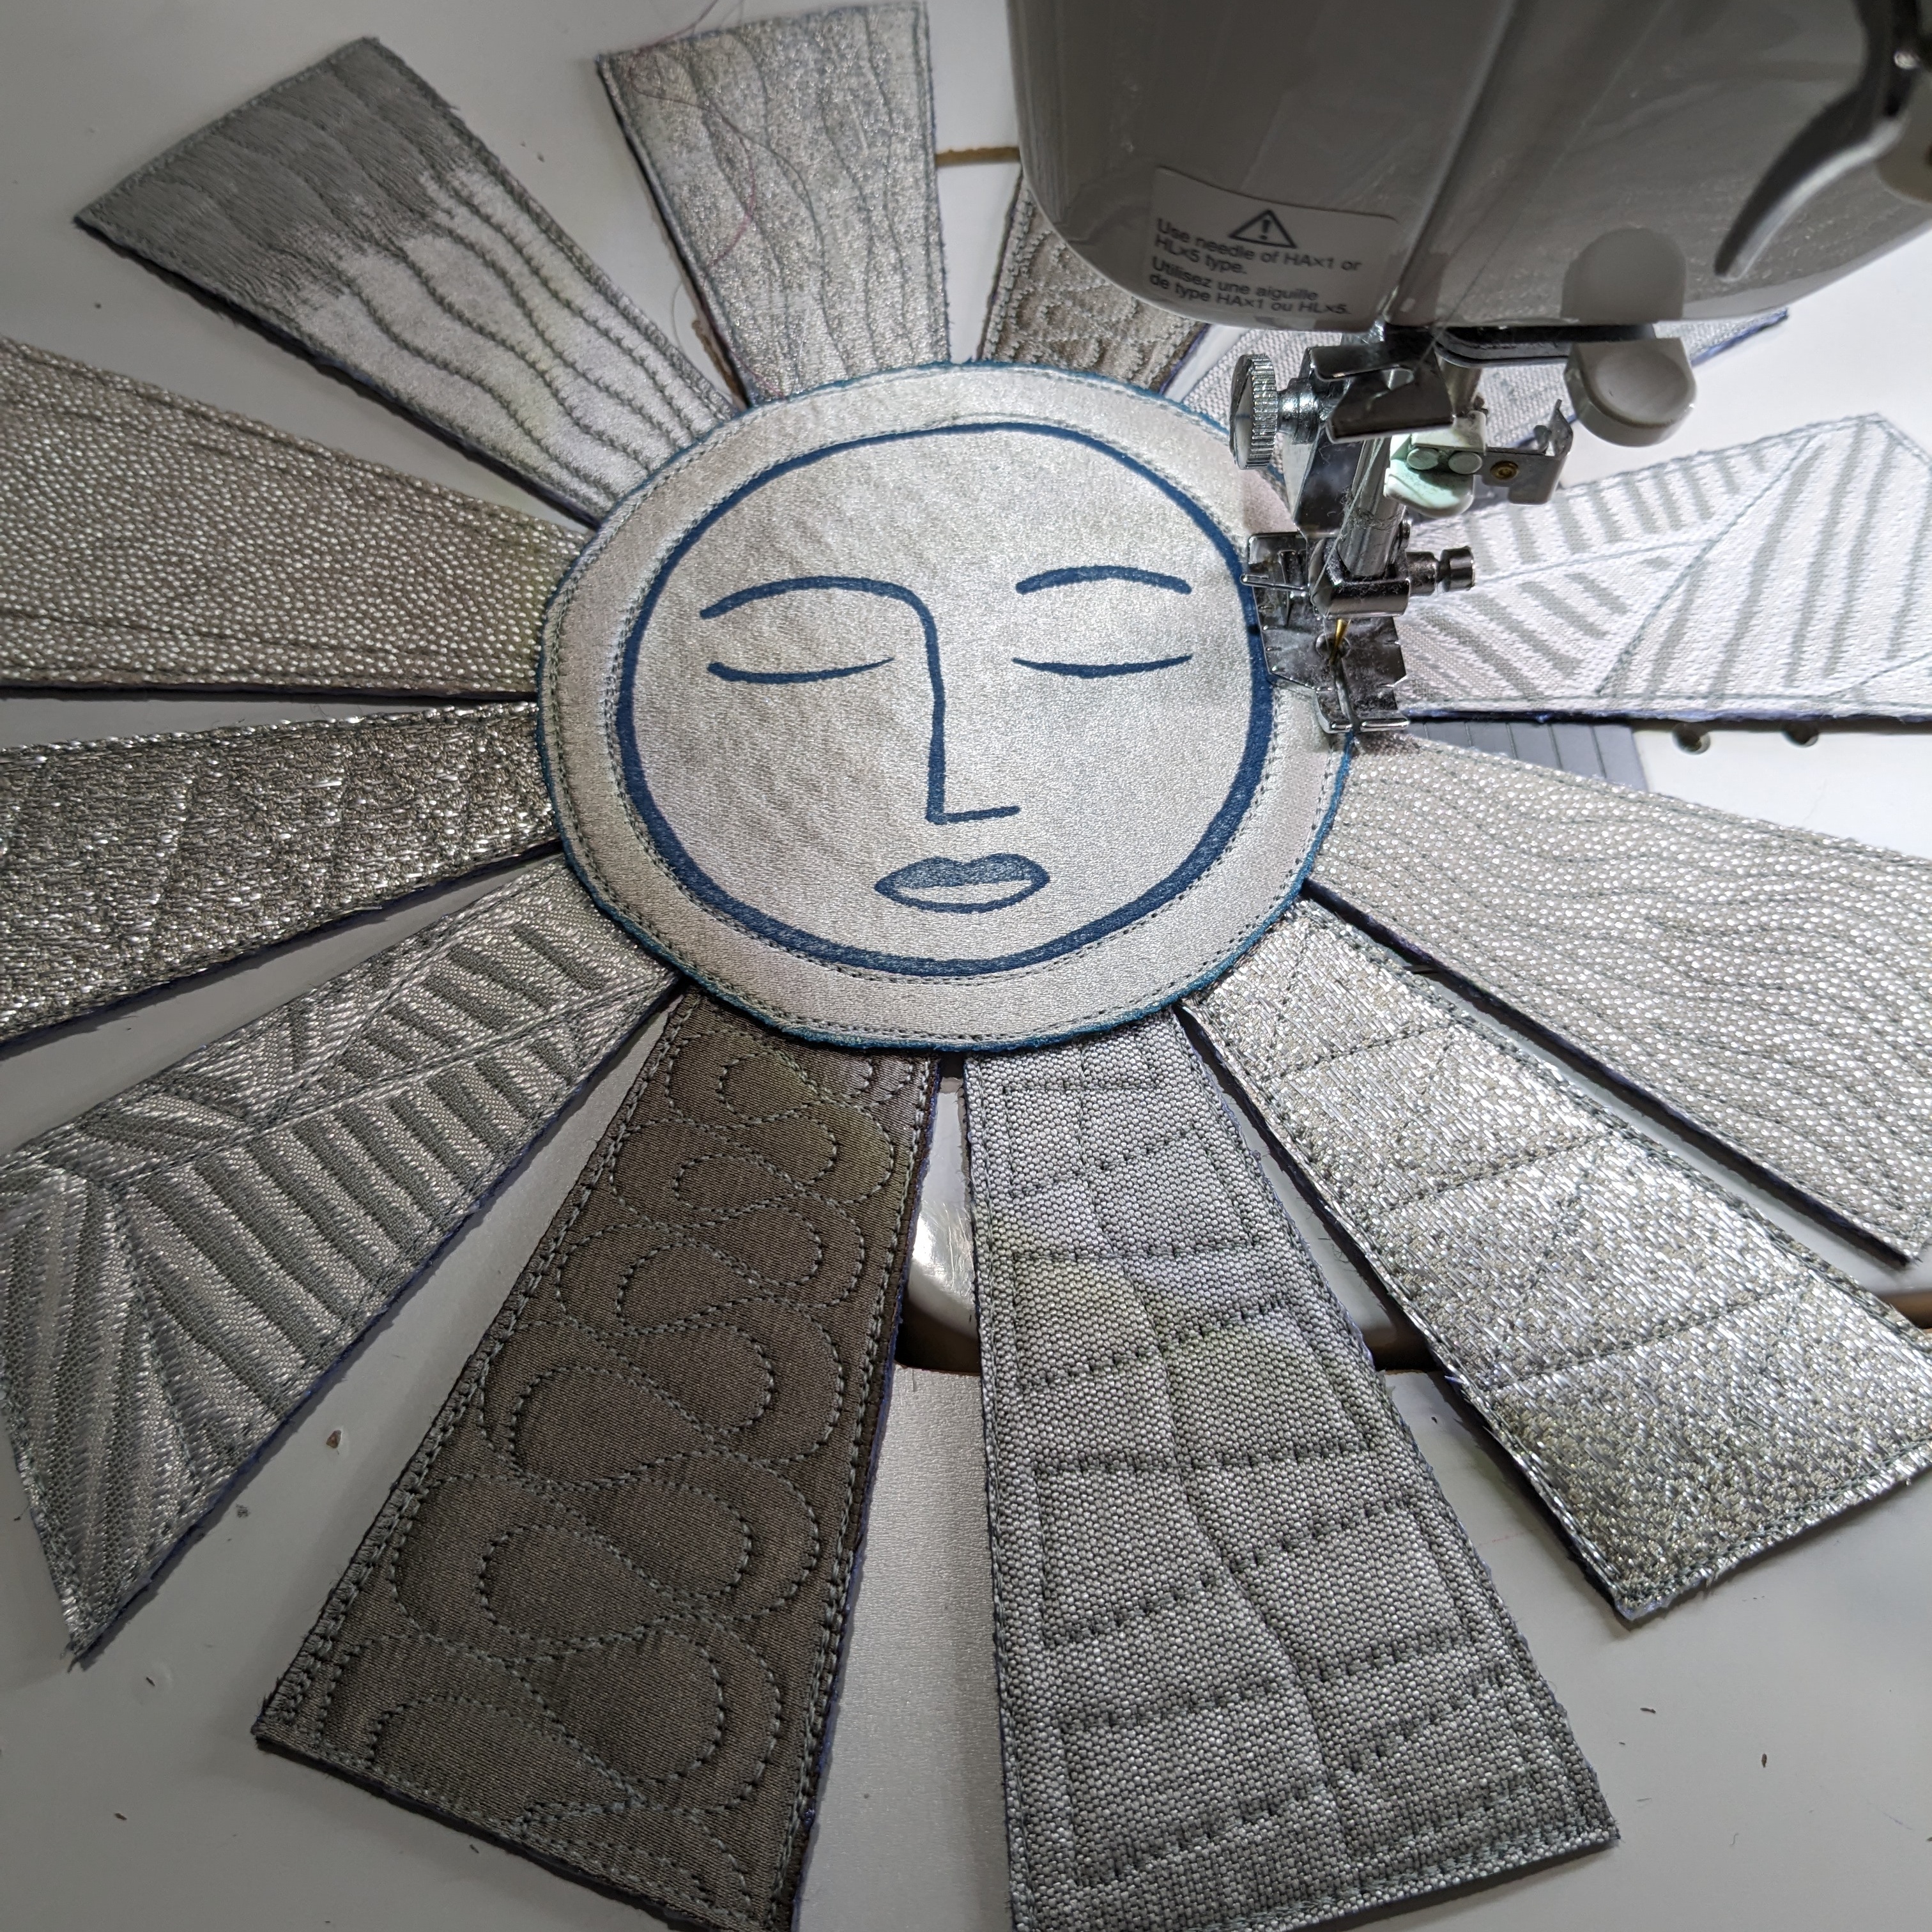


Shortly after 1 AM, my quilt was finished and I am absolutely in love with all the sparkle and texture achieved by both the fabrics and the stitching!

Growing up in upstate New York, my father routinely plowed snow for his work. He was quite attuned to watching for moon rings, also known as a 22° halos, which often appeared the night before a big snow storm. This is my interpretation of those glowing winter moon auras.
 |
| "Winter Moon Ring Mandala" finishes 19" x 19" |
Thank you for visiting! I encourage you to check out the Project Quilting page for all the brilliant Sky Color quilts made this week!
And this is definitely a favorite finish for this month, so I am linking it up with January 2024 Favorite Finish monthly linkup hosted by Yvonne of @Quilting Jetgirl.

That is a magnificent piece. I enjoyed seeing your process - I'd never come up with something like that. Definitely worth sacrificing a couple of needles.
ReplyDeleteThank you! These quilt challenge themes always inspire me to explore exciting new directions in my quilting. So never say never! And yes, definitely worth a few broken needles and replaced rotary blade!
DeleteThank you for the step-by-step, it's very informative. I really love this quilt!
ReplyDeleteYou are most welcome...I'm so glad you enjoyed learning more about my design inspiration and process for making it. I never know how they will evolve but I absolutely love the finished piece!
DeleteIncredible
ReplyDeleteAww...thank you! I'm so glad you enjoyed this finished art quilt!
DeleteJust simply WoW! Loved seeing the details and the process.
ReplyDeleteThank you--I'm so glad you visited and enjoyed learning more about this piece!
DeleteWOW! Seriously! You have blown me away yet again! Week after week you are creating stunning pieces of art!
ReplyDeleteThank you Kim--as always PQ is my season for playing with new ideas, sources of inspiration, and techniques. It's a fabulous way to kick off the new year.
DeleteOh, I can definitely see the moon ring inspiration in the finished piece. I love that you were able to pivot when you couldn't find the small stars stamp (but glad you did find it later). Thank you so much for linking up with Favorite Finish!
ReplyDeleteThank you Yvonne--yes, sometimes plan B is way more interesting than plan A! Thanks for hosting.
DeleteWonderful piece!!!!
ReplyDeleteThank you--I'm really pleased with how all the elements came together!
DeleteVery cool! Thank you for showing this process. It appears that quite a bit of time and thought has gone into this beautiful project. A lovely work of art!
ReplyDeleteThank you! I am so glad you enjoyed learning more about my inspiration and process! I really enjoyed exploring this challenge theme!
DeleteThis is amazing! I enjoyed seeing your process, too!!!
ReplyDeleteThank you Nancy--it was a joy to create! I'm so glad you enjoyed seeing the process too.
DeleteIt’s beautiful! Thanks for sharing the process. Love this way of sharing artistic thought to product journeys.
ReplyDeleteI'm so glad you enjoyed seeing my process for creating this piece. It definitely involved a bit of creative engineering but I am so pleased with this finished piece!
DeleteWhat a fun, beautiful quilt! I love seeing your process and thinking. Very intriguing!
ReplyDeleteThank you for visiting! I am so glad you enjoyed learning more about my inspiration and process!
DeleteTalent and persistence really paid off. I so appreciate you including all the oops as well. I often look at finished pieces and marvel at the talent, but never consider that the artist may have struggled in her creativity. Including your use of products was also helpful as I wondered how did you get those edges so crisp. I have never heard of Tulip fabric paint and will have to research this a bit more. Certainly seems to take care of any raw edges. Congratulations on another beautiful creation.
ReplyDeleteThank you for your lovely comments. I will fill you in a little secret: Whenever I run into a challenge, I take photos-lots of photos to give me a new perspective on where to go next with each piece. So there is usually a strong correlation between the challenge level of any piece and the number of photos included in my blog posts! I usually forget to take photos on the easier projects as I am in the flow--so no pictures usually means not too many hiccups! Tulip fabric dimensional paint is also called puffy paint and sold at most big box craft stores in a variety of colors!
DeleteThis is stunning! Thank you for sharing your process.
ReplyDeleteThank you for your lovely feedback--I'm so glad you enjoyed this piece and learning more about my process for creating it!
DeleteYou have so much imagination! I love seeing how your brain processes these beautiful pieces!
ReplyDeleteAww...thank you! These Project Quilting challenges are the perfect opportunity to explore new designs and techniques! Glad you enjoyed this art quilt!
Delete