Woo hoo! Thanks for joining me as I celebrate 100 Days of Hand-Carved Stamps! This has been an amazing journey filled with lots of learning through daily, creative play. After 100 carving and printing sessions, there's plenty to reflect upon in terms of my own progression, sources of inspiration, and future directions. So let the celebration begin...
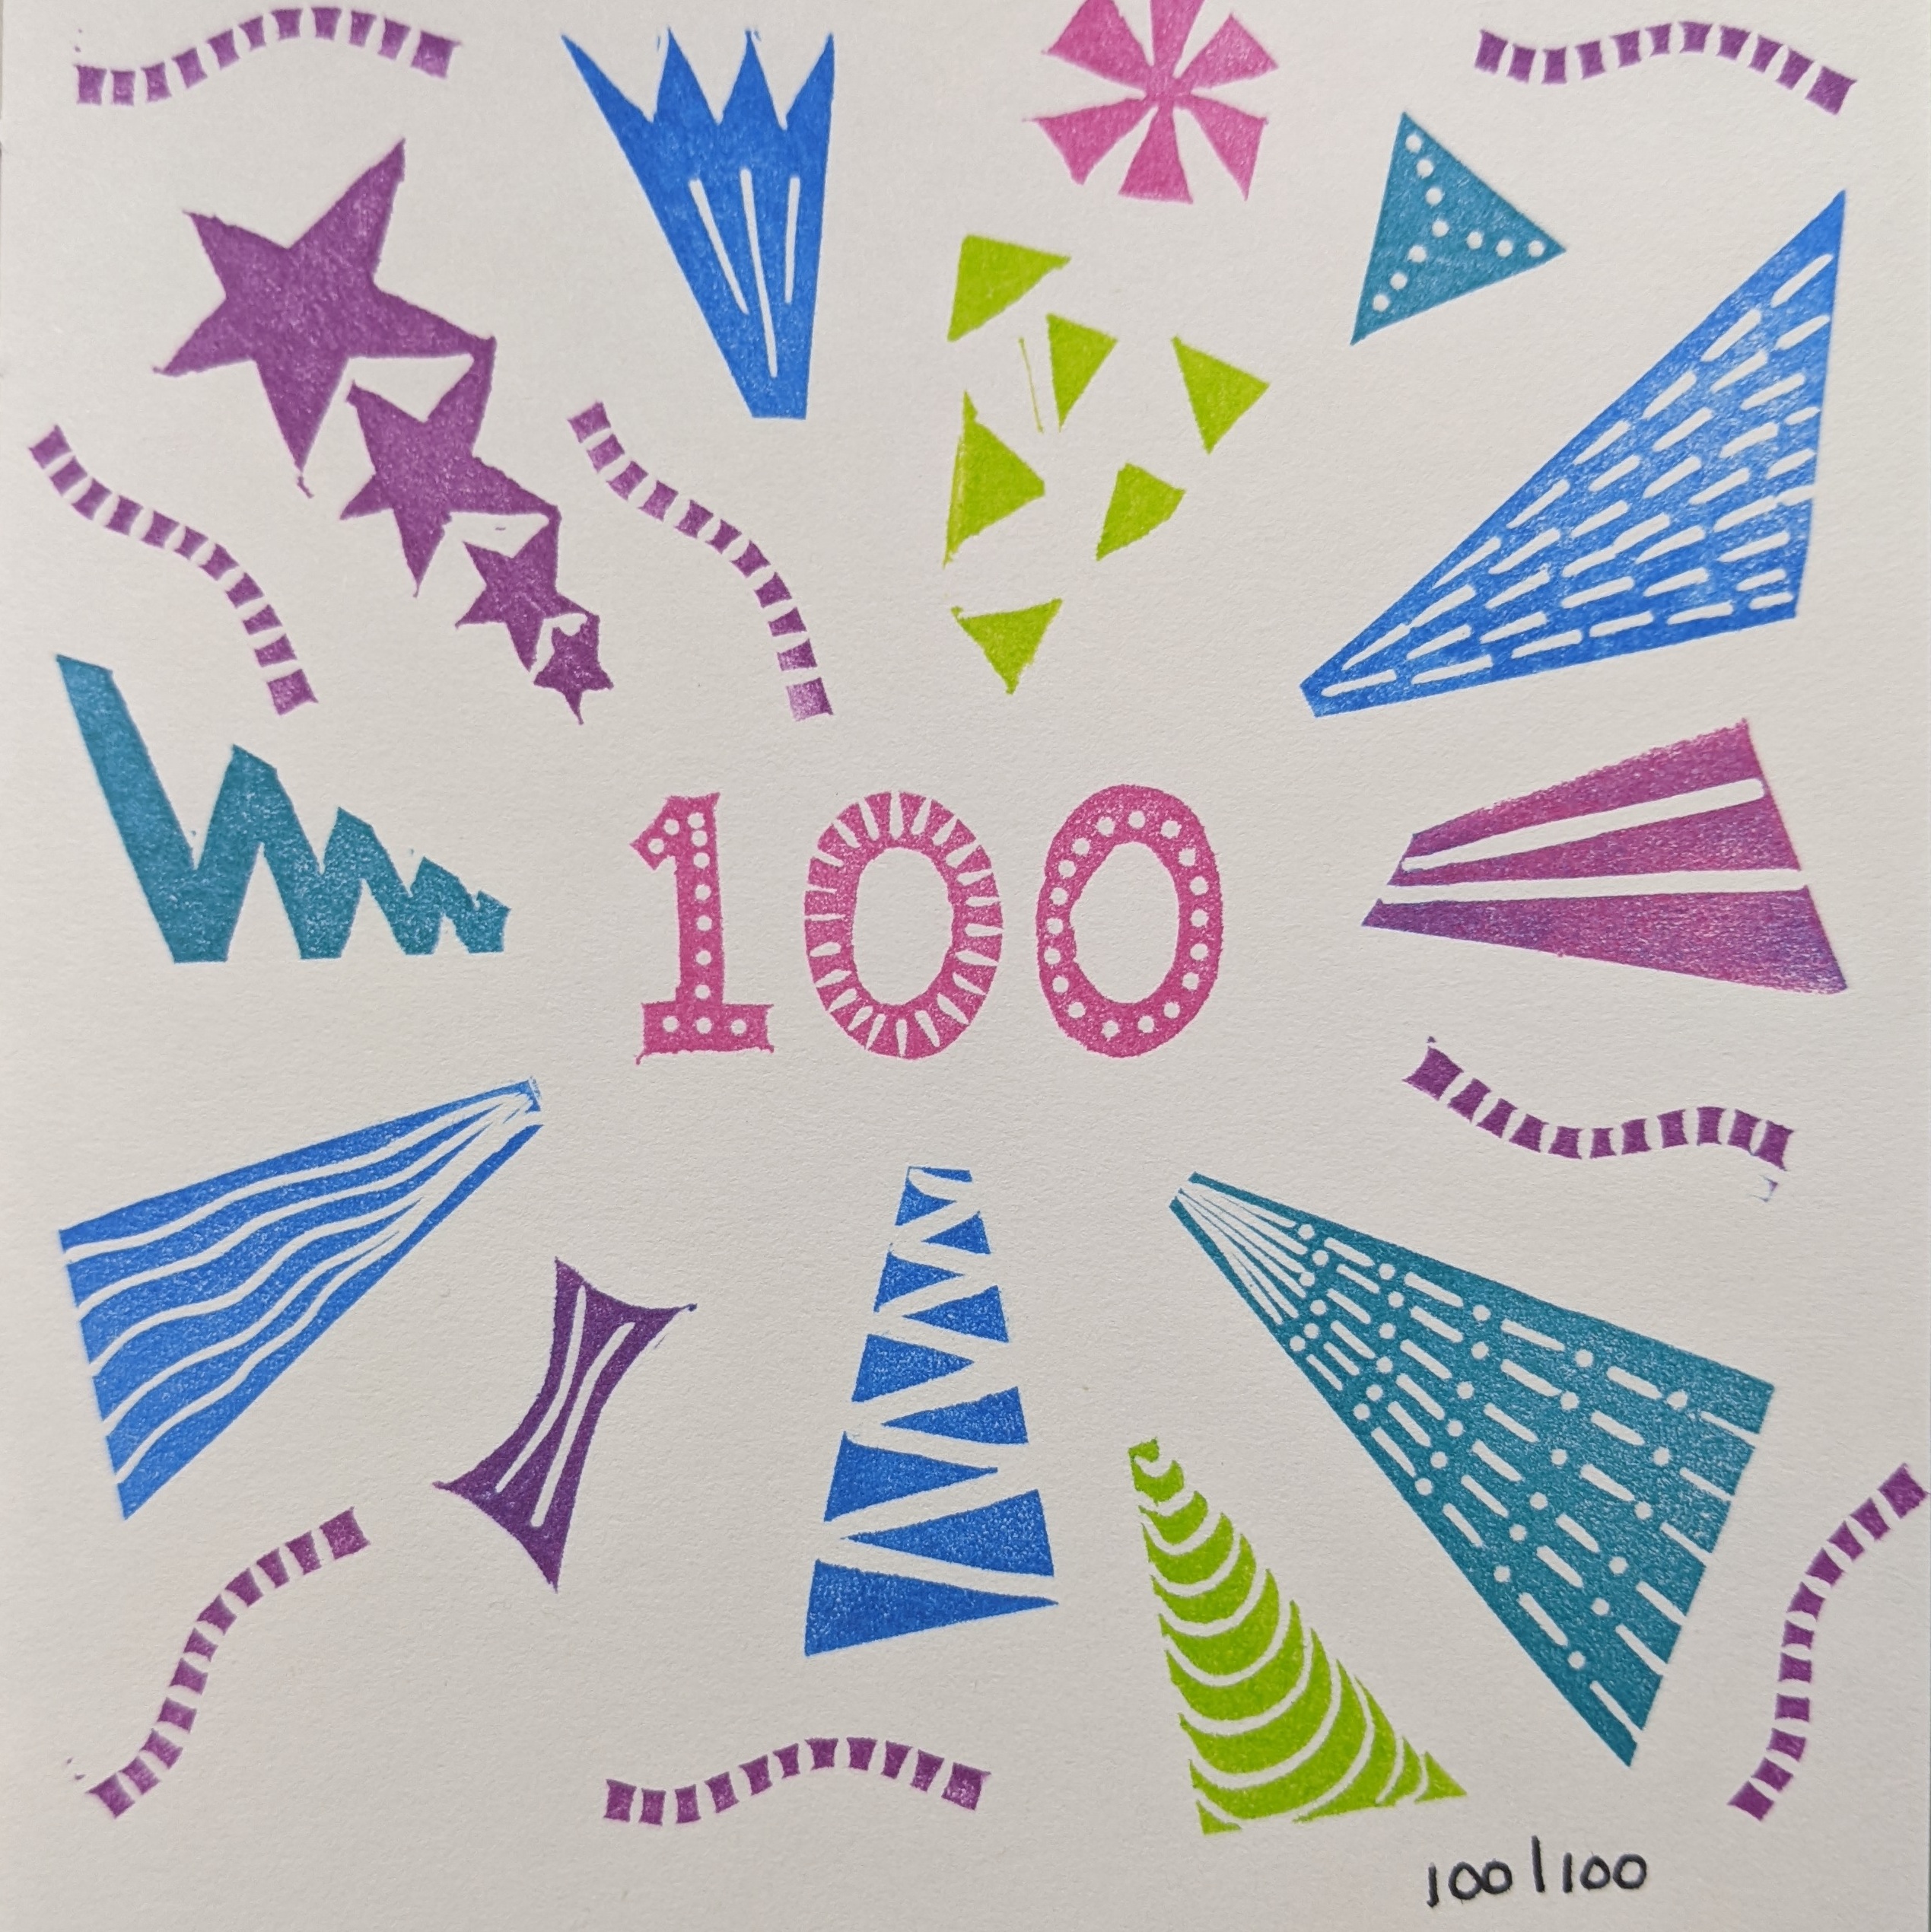
100/100:


“Celebrations infuse life with passion and purpose. They summon the human spirit.”-Dr. Terrence E. Deal, Renowned leadership expert, author, consultant
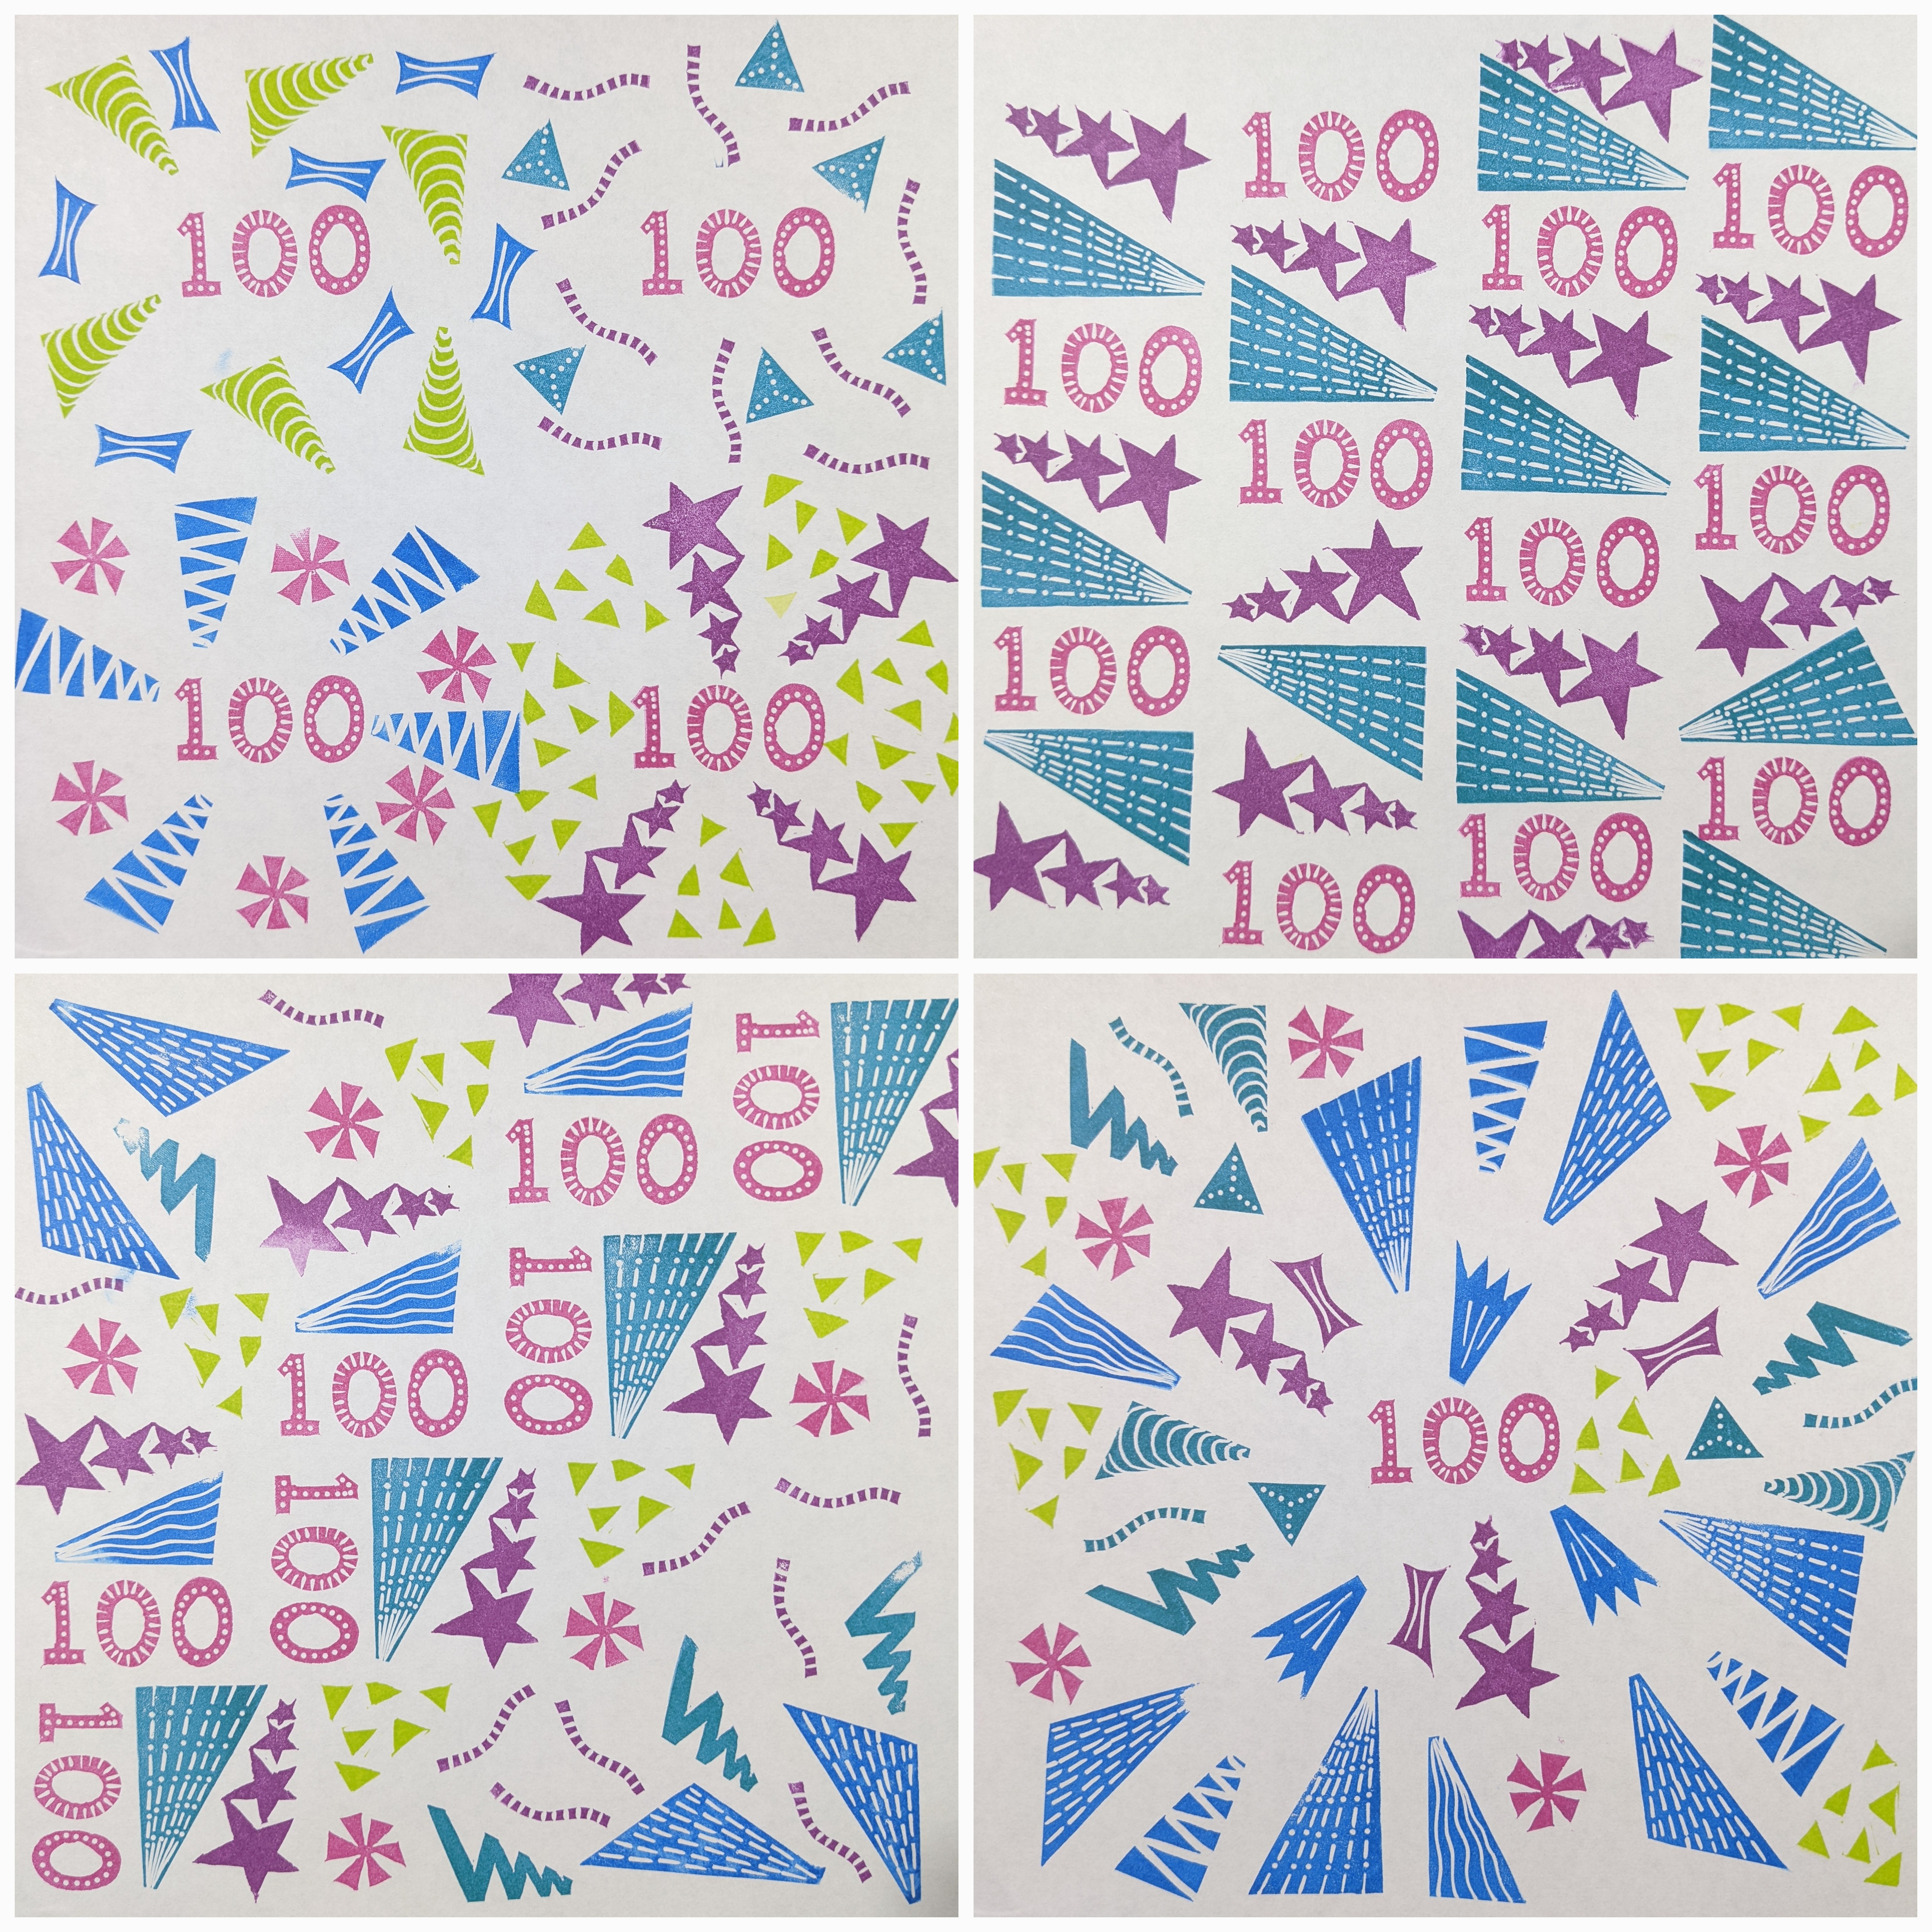
Carving 17 different stamps means lots of pattern play using some of my favorite ink colors!
100 Days of Carving and Printing

- 1 Stamp = 81 days
- 2 stamps =12 days
- 3 stamps = 2 days
- 4 stamps = 3 days
- 5 stamps = 1 day
- 17 stamps = 1 day


Once each stamp was carved, I explored a variety of patterns by printing onto 8.5" x 11" printer paper that were then compiled into a 3" binder. Additionally, I printed a single page in my journal as well as onto an index card to keep an inventory of all my carved designs which you can see in these time lapse videos that condense 200-300 hours into 35-45 second videos.
Technical Skills:
As I filled up my binder with designs, I also honed my technical skills. Not only did I have better control maneuvering the carving gouges around my design, but I was able to carve more intricate shapes and delicate designs. Besides carving, I also became more skilled using the Xacto Craft Knife to cut out my stamps. The first few weeks' worth of stamps looked like I was hacking apart the circles and curves, but with time, they became more smooth. Additionally, my printing also greatly improved, which was especially helpful for aligning the repeat patterns. One of my tricks was to use my Huion LED light pad and drafting grids to help with the alignment! I was careful not to press down too hard for fear of breaking my light pad. Unfortunately the pages in my journal were too thick to see through to the grid pattern, so you may spot some wobbles and bobbles on some of the pages.

Around the midpoint in my project, I participated in two advanced block printing classes with Ali Baecker of 3 Dotted Penguins. This provided a much needed technique refresher and boost of design inspiration for the second half of my project! If you are curious about block printing, I highly recommend enrolling in one of her intro to block printing Zoom classes.
Dice Inspiration:
I love participating in these daily creative projects as they stretch me to explore all a new design each and every day. Rolling dice to determine each day's design assignment is a great way to mix it up to explore all new combinations. I simply roll the dice and play with dice combination. Of course, as I finalize my categories and dice assignments, it is all in theory and I am never quite sure how it will all play out once I start rolling, carving, and printing. Thankfully, my selected assignments definitely stretched my creativity in a positive direction, led to fun design challenges, and ultimately yielded lots of interesting designs.
Starting Shapes:
The green die determined my starting block shape which included:
Circles and Arcs
Many of these were made using pre-cut 2" circles found on Amazon. While they were great for diving right into the design and carving, they had a slight arc and needed to be rocked to print the entire design. I simply drew an arrow on the backside to remind me of the arc and direction to rock to ensure a complete print.

I had never carved a leaf or pumpkin seed shape yet but it's fairly common shape for quilting. Thankfully I took notes on how I drafted my first one and the tools I used so I could repeat the same shape for subsequent leaf designs.

My first leaf quickly transformed into fish, feathers, text, textured designs, and lots of different layouts.

Triangles
Triangles turned out to be a very versatile shape. While I initially envisioned 60-degree triangles, I saw lots of pattern potential with 90-degree triangles, especially to create repeat patterns.

Squares
I had fun exploring the range of patterns that can fit within a 2" square. It was fun challenge to start with squares to create circular repeat patterns! Once again, many of these were carved from 2" precut squares so I made arrows on the backside to remind me to rock during the printing process to get a complete print.

Many of these were sourced from leftover long, skinny scraps. That starting shape would inform my design process including a variety of wedge shapes!

Artist's Choice

Artist's Choice provided an opportunity to play with new shapes, clam shells and hexagons, introduced in Ali's Deep Dive 1 class, as well as trying out some tessalating shapes.


Text

Another tip passed on by Ali was to standardize your shapes/sizes so you can mix and match them down the road to create all new printed possibilities. This also made it a bit easier for printing as I had my little grids ready to go for use with 2" squares, circles, and triangles!
Sources of Inspiration:
Once a shape was selected, I was then tasked to find a connection to the source of design inspiration as determined by the white die roll which included some fun categories:
Nature
This category was fairly easy for me as there was plenty of flora, fauna, and weather inspiration to be found in nature.

Repeat Patterns
Repeat patterns were a bit of a technical challenge with regards to drafting and carving them to align key design elements along the edges and corners...but they were well worth the extra effort! Over time, they got easier and more interesting!

The tricky part about carving text is to remember to reverse the image before you start carving. It requires a bit of retraining your brain, which clearly my brain needs a bit more training given my Oops moment on Day 100!!

As my carving skills improved, I was able to incorporate more intricate text into my designs.


And I've started to experiment with two different paints that have been recommended for use with block printing on fabric. Below are a few sneak peeks of my initial experiments with lots of happy results although I have a few more tests to perform before I can share my findings in a future blog post for those curious about printing on fabric.


Additional Sources of Design Inspiration:
- Graham Leslie McCallum's Pattern Motifs book was a wonderful resource for finding and drafting new block designs. While the patterns are copyright free to use, I tried to use the provided designs as a jumping off point and add my own twists into the final carved block which I hope you can see between the scanned book image and my printed page. Check out his other books which include Flower and Plant Motifs, Animal, Bird, and Fish Motifs, and a variety of culture specific design inspiration books.

- While my intent is to incorporate these printed patterns into my fabric design for use in my art quilts, I also drew lots of inspiration from the quilting world including designs I teach in several of my workshops: Modern Free Motion Fillers & FUN!, Walking Foot WOW!, Intriguing Interleaves, and Free Styling & Spiraling.

- Tilework designs, especially Mexican tilework, were wonderful sources of inspiration for many of my carved block designs, especially drafting repeat patterns! Oftentimes, they would provide a basic outline for me to then fill in with some of my favorite motifs.

Printing Play:
Since many of the shapes were fairly standard, I played lots during the printing process to explore:
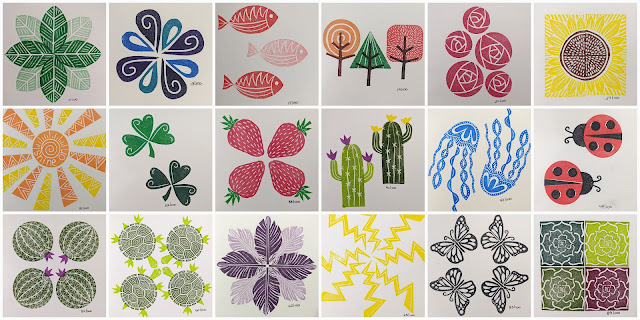
- The variety of layout patterns that are possible from one shape: structured grids, pinwheels, rows/columns, radial symmetry, and all-over designs. Usually I had a pattern design in mind as I was carving the block, but once I started printing, all new pattern possibilities would emerge through play. And just when I thought I had discovered all the possible layouts for a particular shape, a new pattern would emerge by asking what if/why not, and the ocassional printing mistake!

- Given the limited color palette of the ink pads, ghost prints are a wonderful way to add more variety to your prints. A ghost print is achieved when you stamp the block 2 or more times before re-inking. As a result, you get a lighter value from the ghost prints. In many ways it is actually easier and faster to incorporate ghost prints as you don't have to keep re-inking between prints, but the value changes also add sparkle and depth to your designs.

- Starting on Day 1, I experimented with layering prints using different colors of ink. Not only did this achieve transparency and all new colors where the elements overlapped, but entirely new patterns started to emerge! This technique tended to work best with fairly simple designs and really added drama to my prints! I especially enjoyed challenging my friends to see if they could identify the starting block design.

- I also enjoyed creating designs using multiple carved elements that could be combined in exciting new ways using different colors and placements. Over time, several previous carved elements would make cameos to add flowers, paws, sun rays, and to create blooming mandala patterns!

I had so much fun with the printing portion that I developed a bit of a blister that evolved into a callous on my fingers from all the repeat printing--which may have inspired day 58/100's bandaid block print!

- While most of my prints were done on paper, it was always my intention to printed my own fabric patterns. Several of the carved block designs were incorporated into some of the art quilts I made for Project Quilting and/or Prism Play.


Phew! It seems like a lot of learning, but really, it was a bit of play each and every day. Wow! It adds up to lots of amazing results!

Thank you!!
Many thanks to all who joined me along this creative journey! Your encouragement and support helped get me into the studio each and every day to roll and play. I truly appreciated all the wonderful comments and questions left in response to my daily posts as it helped me to process this experience and keep up the momentum.
If you are just joining in the fun, you can catch up on all my previous weekly blog posts related to this project linked below:
What's My Next Creative Adventure?
It's always bittersweet to cross the 100 Day mark. While it's nice getting to bed a bit earlier, I do miss my evening carving and stamping sessions.
- There will be more carving/printing ahead as I absolutely love it! I have lots more ideas to explore and print, so stay tuned for more hand-carved designs.
- I've got some ideas swirling about for more daily creative play projects ahead. SAQA is kicking off a new 70 Day Project later this month which I may expand into a 100 Day Project of my own to explore some new-to-me fiber art techniques. I'll be sure to share here and on social media for those that would like to join me again!
- If you are curious about how I use Dice as part of my creative process, I invite you to join me via Zoom for Design by Dice, a 2-hour mini workshop where we'll roll the dice to explore new design possibilities! Bring a few fabric/paper scraps, glue, scissors, dice, and leave with lots of ideas and inspiration for using dice to stretch your creativity! Registration is $25 for 2 hours of inspiration, resources, and interactive exercises to stretch your creativity in a FUN new way! I've scheduled two virtual sessions in August (Wednesday, August 10th from 6-8 PM EDT/3-5 PM PDT and another session on Saturday, August 20th from 5-7 PM EDT/2-4 PM PDT. Let's roll the dice and play!


I found you a few weeks ago and have enjoyed following along on your adventure. Your stamps are beautiful. I can't wait to see what you do next.
ReplyDeleteThanks for your lovely comment Charlotte---I am so glad you found me! I am excited to see how these stamps work their way into my fiber art and looking forward to the next daily play project!
Delete